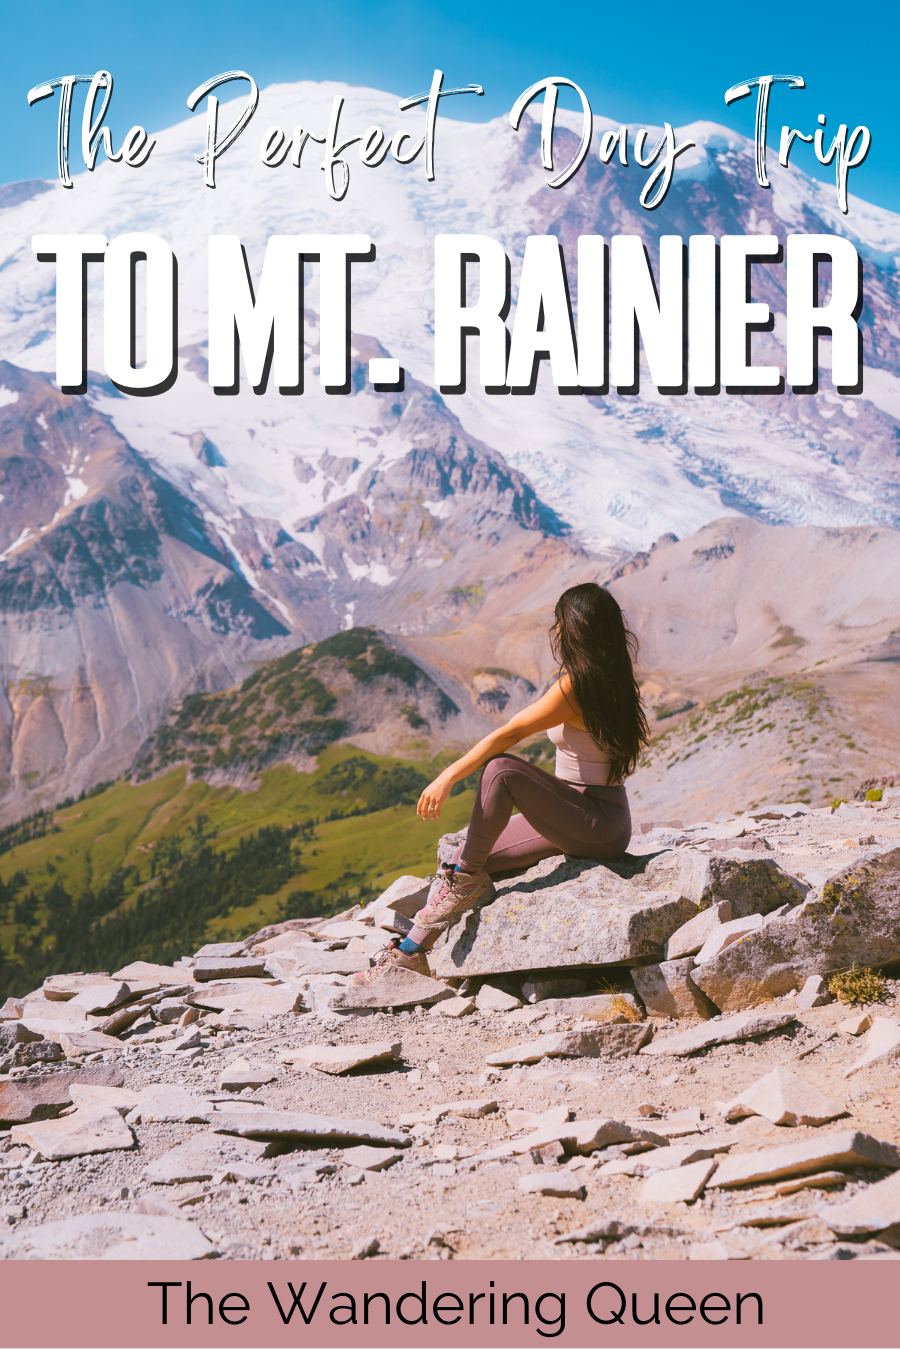
Fun Day Trip to Mount Rainier from Seattle | An Insider’s Guide
Thinking of taking a day trip to Mt Rainier from Seattle? You could spend days exploring this national park. But seeing some of the highlights of this park in a day is definitely possible.
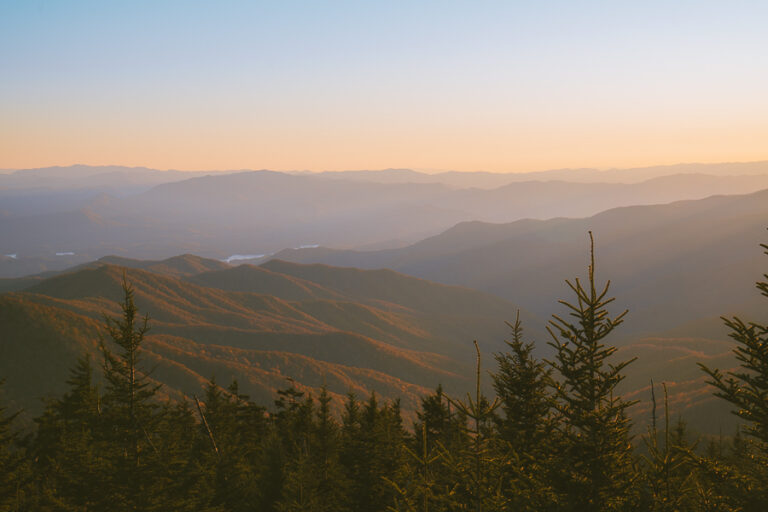
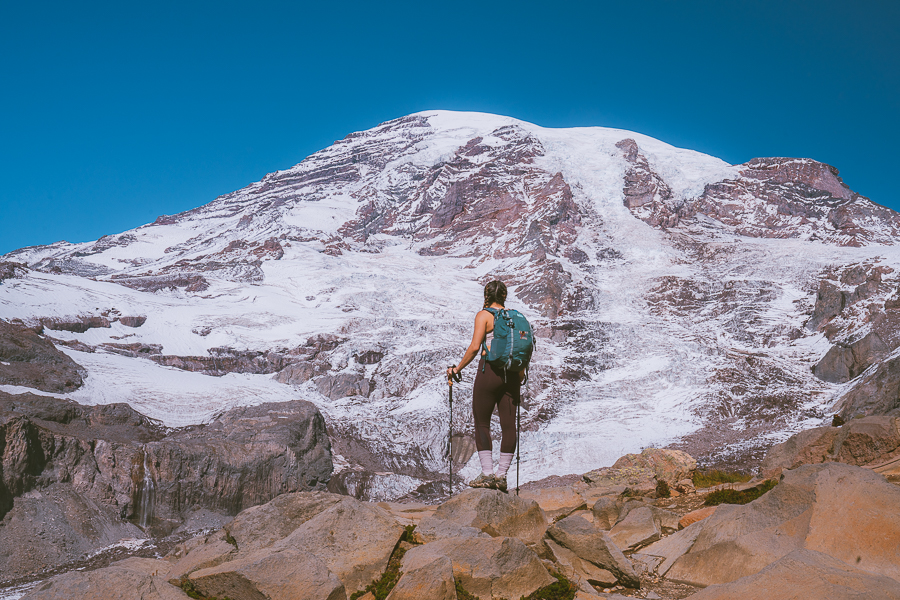
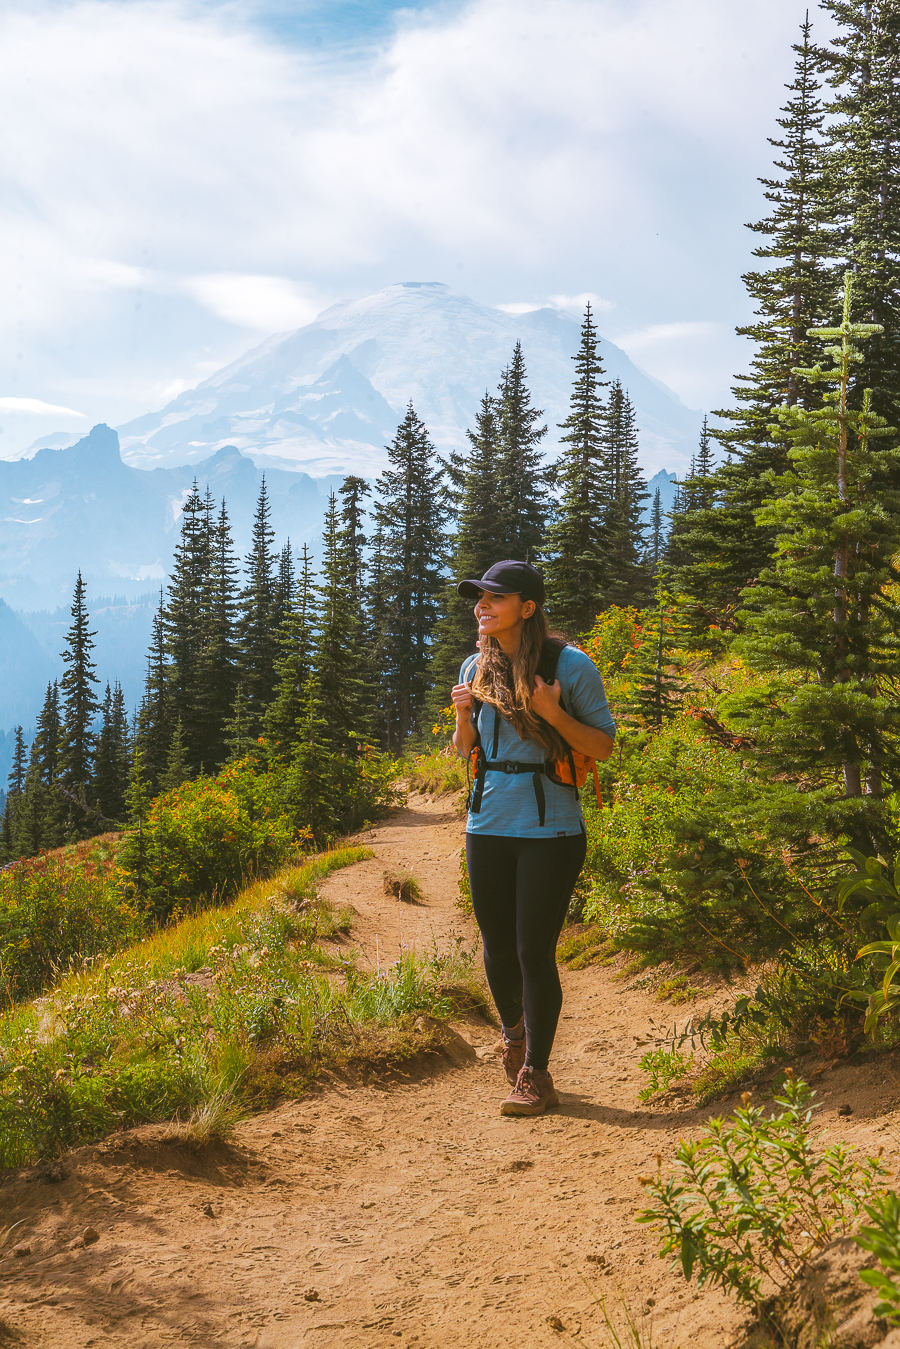
With alpine meadows that come to life with wildflowers in the summer and impressive glaciers feeding stunning waterfalls and lakes, Mount Rainier National Park is a visual treat. And with its many scenic hikes and photographic opportunities, it’s no surprise that this park attracts over two million visitors yearly.
I live in Washington and find Seattle to be the perfect base for a Mount Rainier day trip, as it’s only a few hours’ drive away. The guide below will cover everything to help you plan the perfect Seattle to Mt rainier day trip. It’ll cover everything from the best time to go, the top activities, and some helpful tips before you visit Mount Rainier.
Disclosure: This post contains affiliate links. If you click one of them, I may receive a small commission (for which I am very grateful for) at no extra cost to you.
Mount Rainier National Park
Related Posts
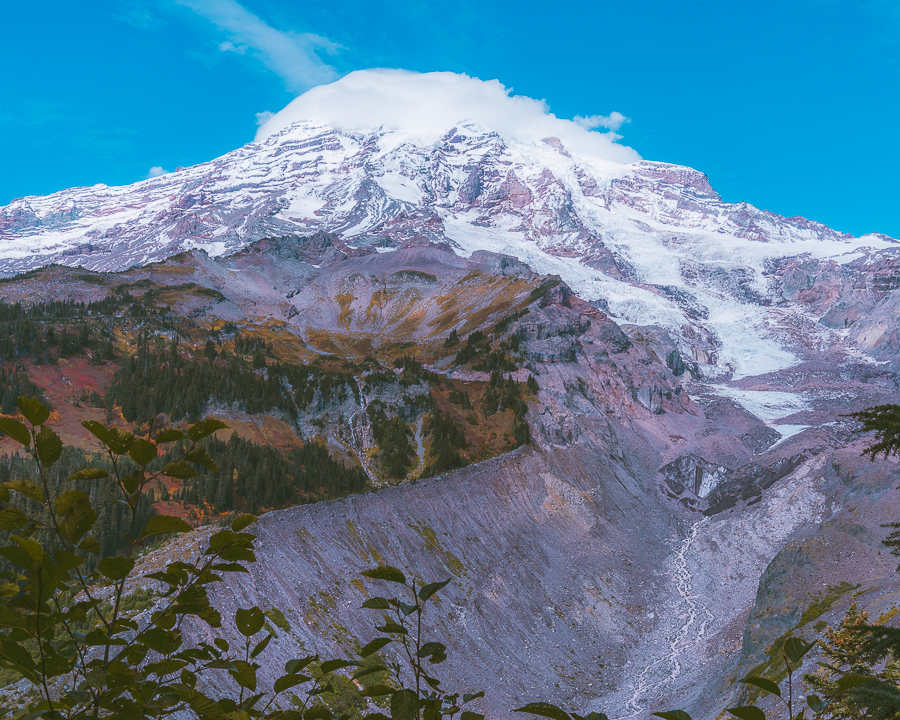
About Mount Rainier National Park
Designated as a national park in March 1899, Mount Rainier NP is one of the oldest in the United States. This volcanic mountain in the Pacific Northwest towers a whopping 14,410 feet above sea level as the highest mountain in Washington State.
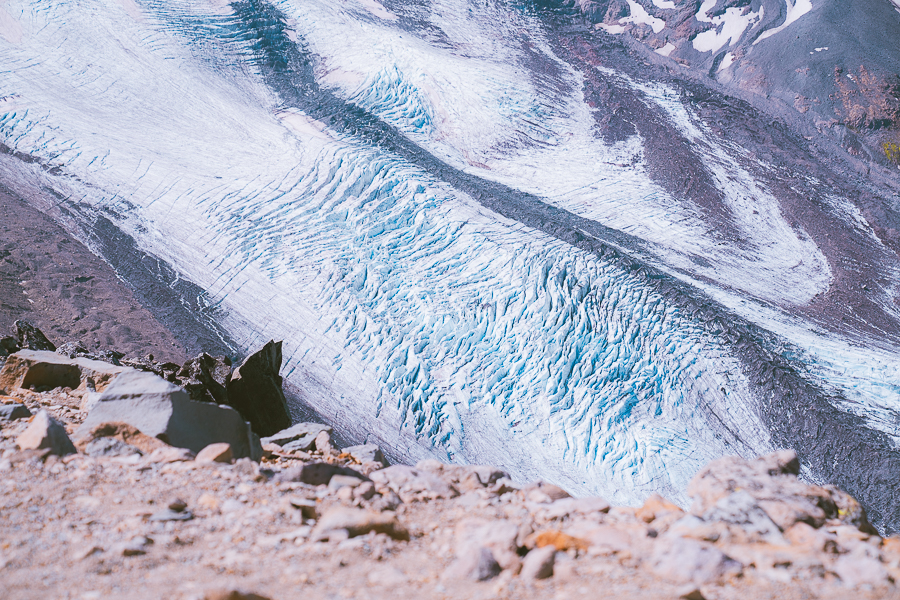
Mount Rainier is especially interesting as it’s a volcano covered in glaciers. In fact, it’s the most glaciated mountain in the contiguous United States, home to 26 named glaciers. The park encompasses about 370 square miles of wetlands, ancient forests, alpine tundra, and over 1,000 animal species, making it a wonderland for exploration.
This park is also of great significance to six Native American tribes; the Nisqually, Puyallup, Squaxin Island, Cowlitz, Muckleshoot, and Yakama. These tribes have a longstanding and active relationship with the park and know it as Tahoma or Tacoma. In summer and early fall, they would visit this park to hunt and gather resources.
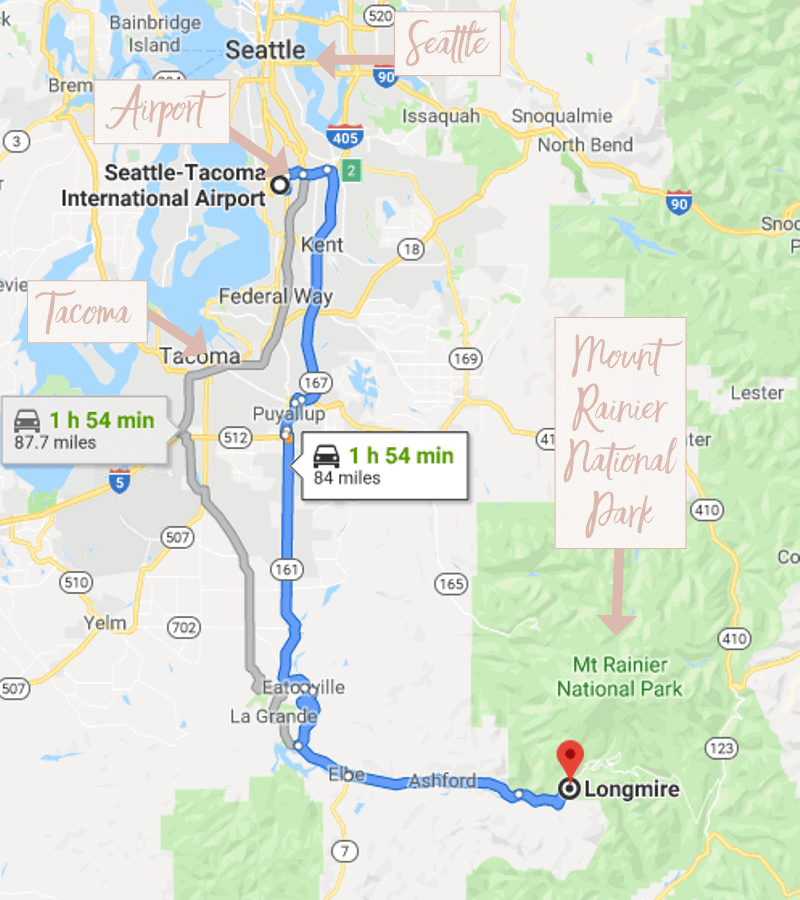
Map Of Map Rainer National Park Itinerary
I’ve embedded a Google map below with this itinerary! You can download and save it for offline use, but I recommend printing it out, too, so you’re covered if you find yourself without service on the trail.
How to Get to Mt Rainier From Seattle
The best way to get to Mount Rainier from Seattle is by car, whether rental or your own.
As the park is vast, and since you’ll be short on time, the quickest way to get to and around the park will be with your own vehicle. There is no public transport going directly to Mount Rainier National Park and no shuttle buses operating within the park.
The trip from Seattle to Mount Rainier takes about two to three hours. The closest town to Mount Rainier National Park is Ashford.
In Ashford, you’ll find the Nisqually entrance leading to Paradise. This is the most popular entrance from Seattle and the only one open year-round.

Tip: If you’d like to skip the logistics or don’t want to drive, you can opt for a guided day trip to Mt Rainier instead.
Getting into Mount Rainier National Park
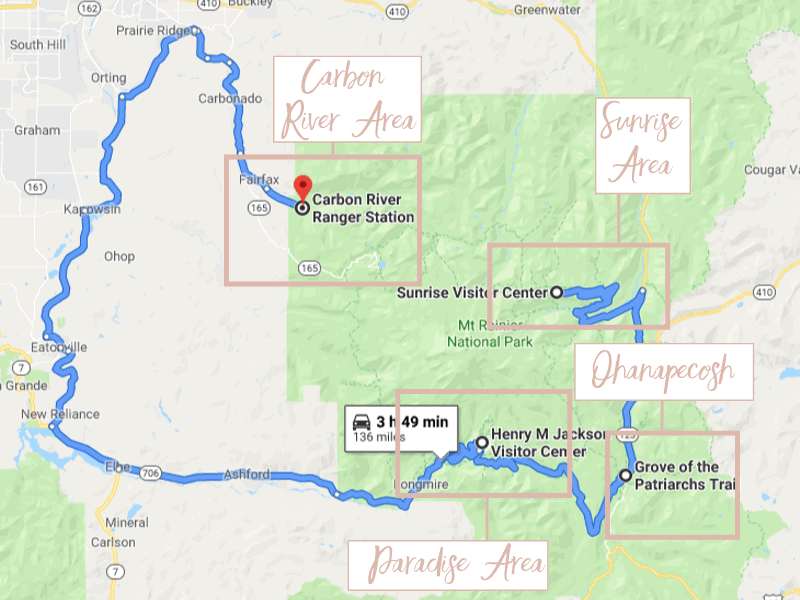
The first thing to note is that there are four main entrances to Mount Rainier National Park:
- Nisqually Entrance: Southwest, accessing Paradise from Ashford.
- Sunrise Entrance: Northeast
- Stevens Canyon Entrance: Southeast
- Carbon River: Northwest
The entrance fee to Mount Rainier is $30 per private vehicle and its passengers. However, an America the Beautiful Pass will give you access to all national parks in the United States for a year.
So if you plan on visiting any other national parks, this $80 pass will work out much cheaper in the long run. Try to get into the park before 8 (or even 7) in the morning during peak season, as the queue quickly gets long. There have been reports of people waiting hours to get into the park.
What To Pack For A Day Trip From Seattle to Mt Rainier
- Bug Spray: The bugs are insane here! Bring some good bug spray. >Buy Some Here
- Sunscreen: One of the ten essentials! I always bring this with me. >Buy Sunscreen
- Hiking Boots/Shoes: If you use tennis shoes, you can easily hurt your toes hitting a rock by accident (Trust me I have done it so many times). Make sure you bring good shoes when you hike Mount Rainier. >Check Out My Hiking Shoes
- Hiking socks: Having the correct socks helps prevent blisters while hiking at Mt Rainier. Smart Wool is probably my favorite brand out there. I also love how they now have pink socks too 🙂 >Buy Hiking Socks
- Refillable water bottle: I always bring a Hydroflask on all my adventures. They are on the heavier side, but I know for a fact they will not break. I have had a few cheap water bottles break on me before. >Check Prices Now
- Water Reservoir: You might need more water than a water bottles worth. The great thing about this reservoir is that it doesn’t have the plastic taste. >Here Is My Water Reservoir
- Water: Stay nice and hydrated.
- Sunglasses: It can get sunny, so make sure to pack some sunglasses. >Check Out These Sunglasses
- Snacks: The best snacks are jerky, nuts, energy bars, and extra food. >>>Check Out These Snacks!
- Camera: The camera I have linked was one of the first cameras I started using on my travels. The Sony A6000 is an excellent camera for people that want to start improving at travel photography. >Buy Sony Camera Here
- First Aid Kit: This is one of the first things I bought when I first started going on adventures. It is super portable. >Buy This Awesome First Aid Kit Here
- Day Pack to carry all your things: The REI bag I have linked, we have had for seven years now, and it is still going strong! >Buy This Great Quality Backpack
- Leggings or Hiking Pants: I love wearing leggings while hiking because I love how comfy they are. Here are my leggings. >Click For My Leggings
- Breathable sweat-wicking shirts: Try not to wear cotton because it soaks up your sweat and can cause hypothermia in the mountains. >Buy Shirt Here
- Sports Bra: For women >>>Click Here
- Jacket: It can get pretty chilly all year long. Bring a Jacket! >Buy My Favorite Jacket
- Rain Jacket: When hiking in Washington, you need this in case it starts pouring on you, which is always a possibility in the PNW. >Buy A Great Rain Jacket Here
- Tripod: This is an optional item, but it is excellent for getting the ideal sunset pictures. >Check out this tripod
- Fire Starter and Matches: This is just in case of an emergency. >Buy These Stormproof Matches Just In Case
- Compass: I always carry this with me, just in case. >Click Here To Buy
- Knife: You never know if you will need it. >Buy My Knife Here
- Headlamp: A headlamp is an absolute must in case you get lost, or you take longer than you thought you would to complete a hike. Trust me, it happens even to me. >Buy A Headlamp Now
- Trekking Poles: I recommend these for people with bad knees like me. >Buy The Poles Shown In My Picture
- Crampons: If you are hiking outside of the summer months, I highly recommend always having this in your backpack. >Buy My Handy Dandy Crampons
- Bear Spray: I always carry bear spray around Washington State just in case. >Buy Bear Spray Here
- Mount Rainier Map: A map is essential so you don’t get lost. I usually bring with me AllTrails+ map on my phone, and I have many of the Washington area maps. I love National Geographic’s maps. They are good quality. >>>Check It Out Here
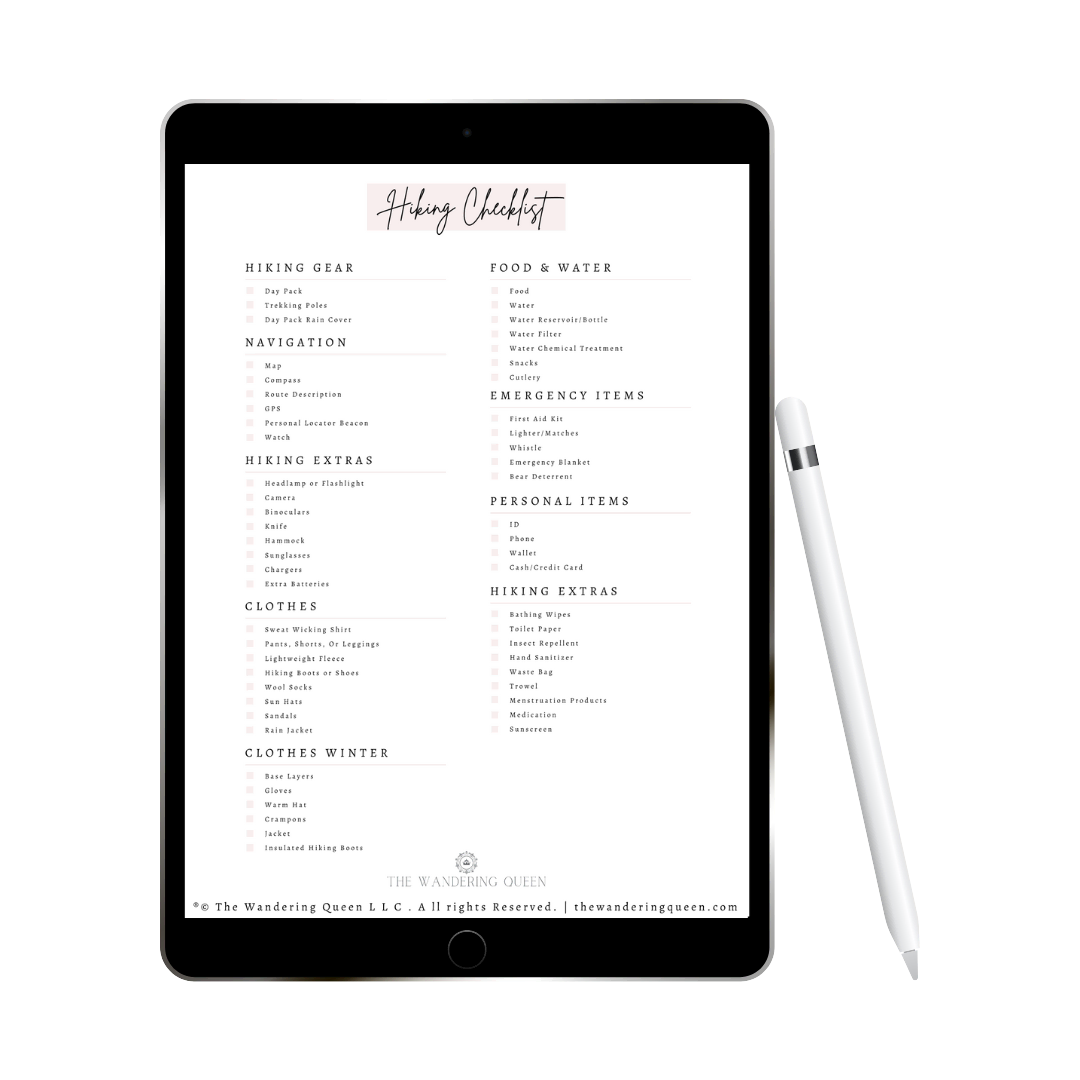
Claim your FREE Hiking Checklist
Ready to start hiking? Grab my free hiking checklist and never forget anything at home!
Best Time To Take a Day Trip From Seattle to Mt Rainier
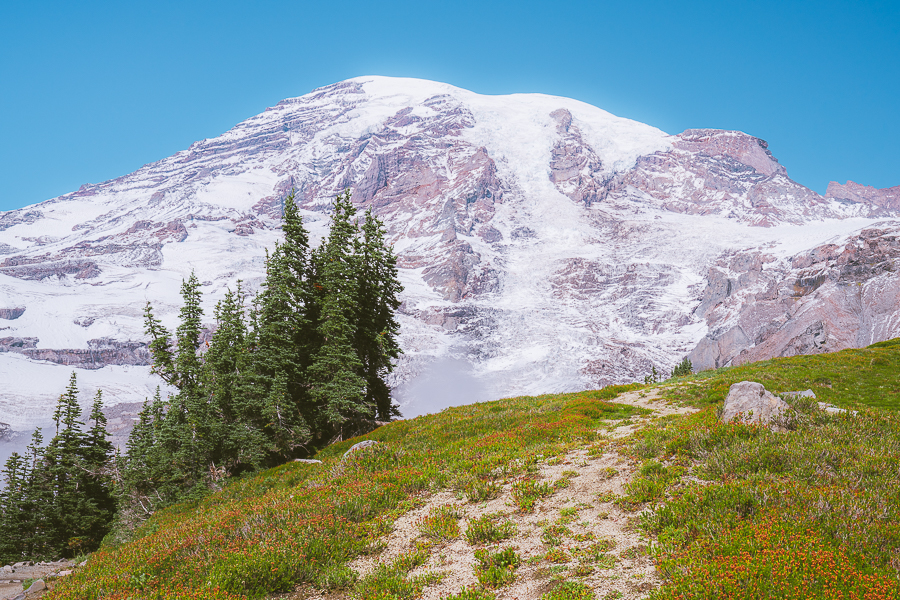
The best time to make a Mt Rainier day trip is late July to August. During this time, wildflowers color the landscape. However, this is also the busiest time for the park, so it might not be ideal if you’re looking to avoid crowds.
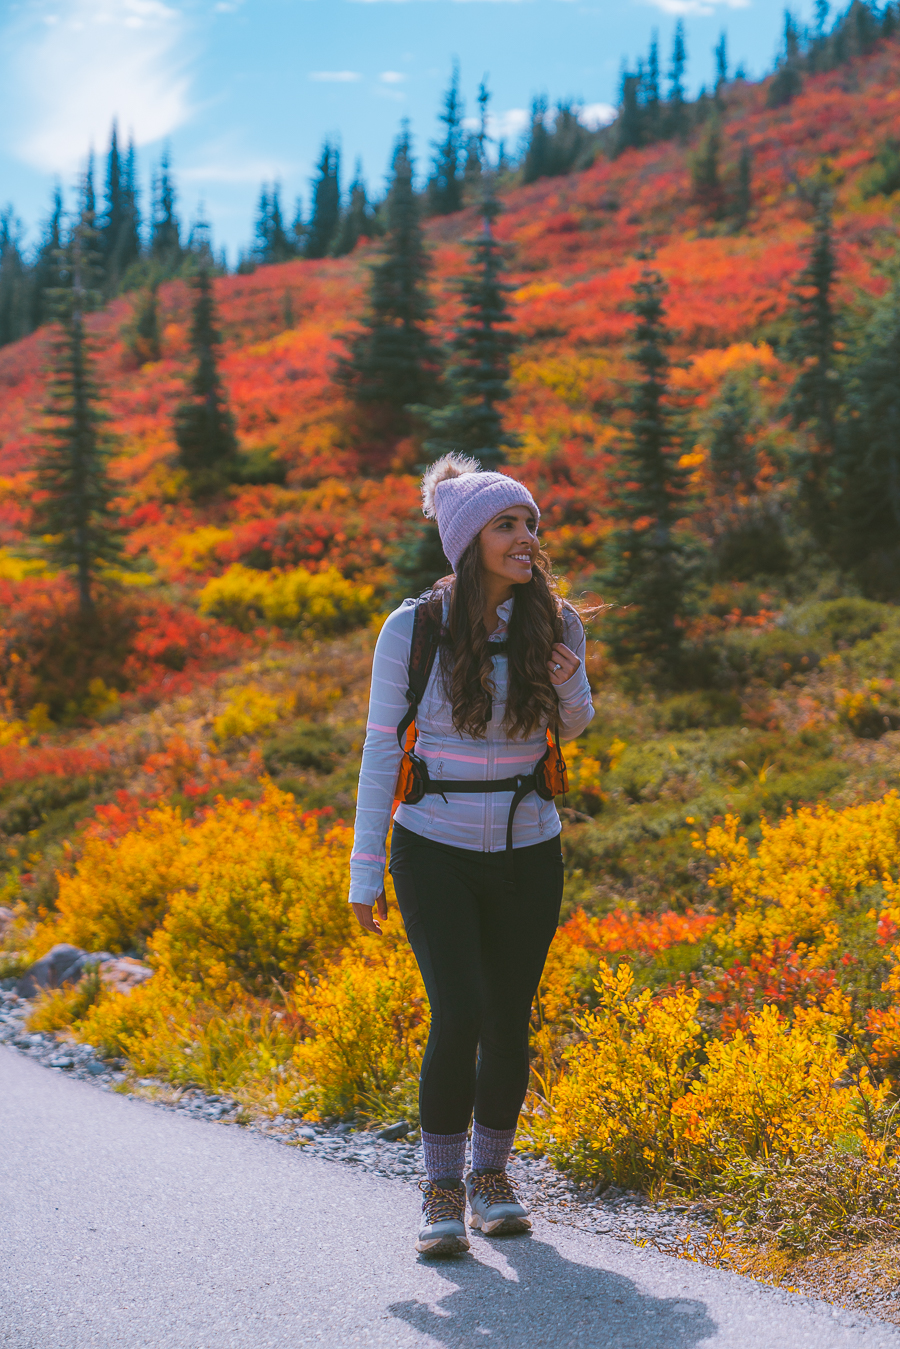
During fall (September to October), Mt Rainier National Park is awash, with warm hues of red, yellow, and orange overtaking the greenery. It’s a great time to visit to avoid the peak season crowds, but you may encounter snow by the end of the season.
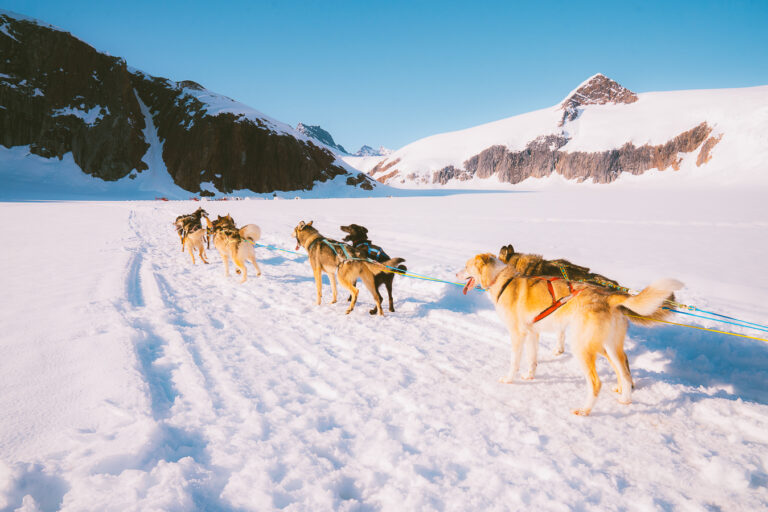
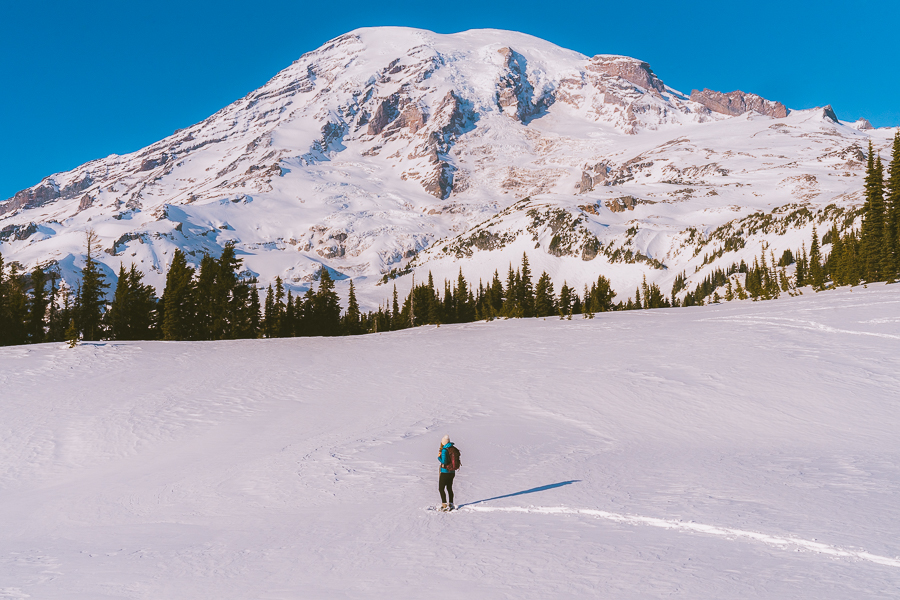
From November through June, the park is snowy and cold but perfect for all kinds of winter activities, like snowshoeing. You may find many roads and trails closed between April and June, so it would be best to avoid that time.
Note: There can be snow in the park as late as the beginning of July. There is also a chance of snowfall by the middle of October and November.
Itinerary for Visiting Mt Rainier’s Paradise/ Ohanapecosh Area
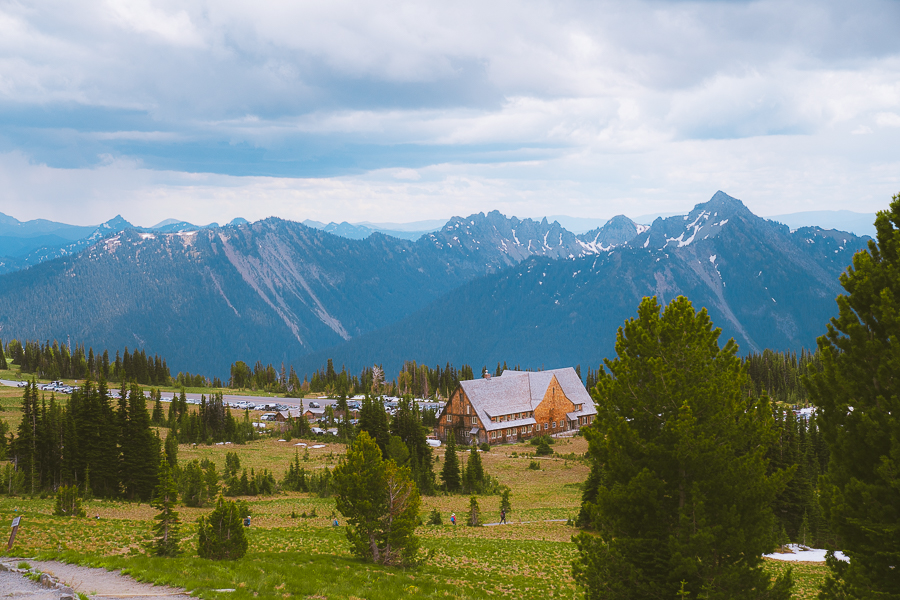
The Paradise area is the most popular region of the park, offering views of Mt. Rainier, wildflower meadows, alpine lakes, and stunning waterfalls. This southern area of the park is also close to the Ohanapecosh Area, which has stunning old-growth forests and an iconic hiking trail.
Let’s have a look at how to spend a day in this region.
All the best views in the state
100+ WA Hikes
Embark on Washington’s best trails with our eBook! Inside, find top hikes, expert tips, and stunning views, making every adventure unforgettable. Dive into the beauty of Washington’s outdoors now!
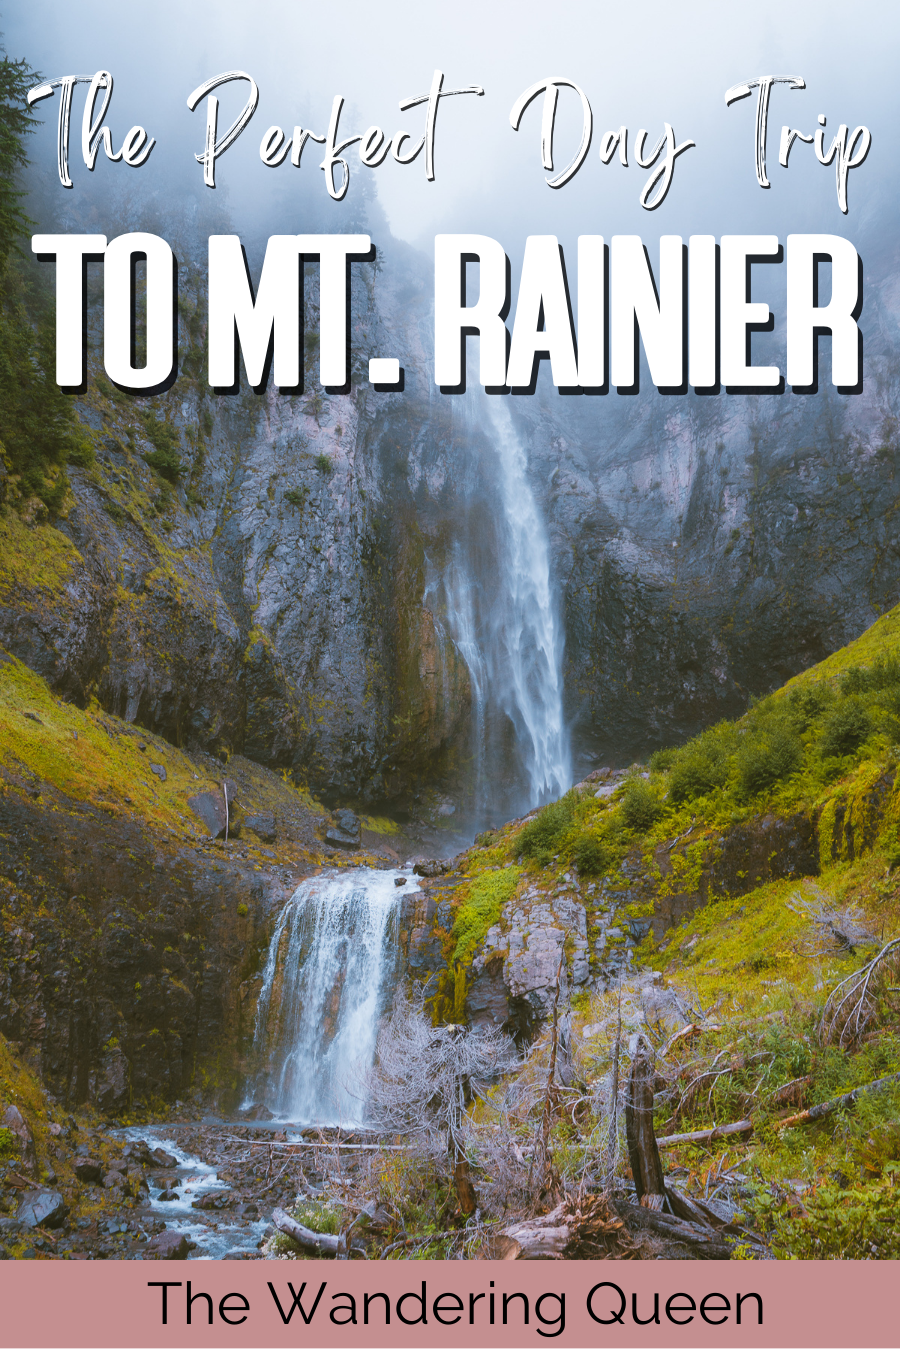
1. Look at Christine Falls
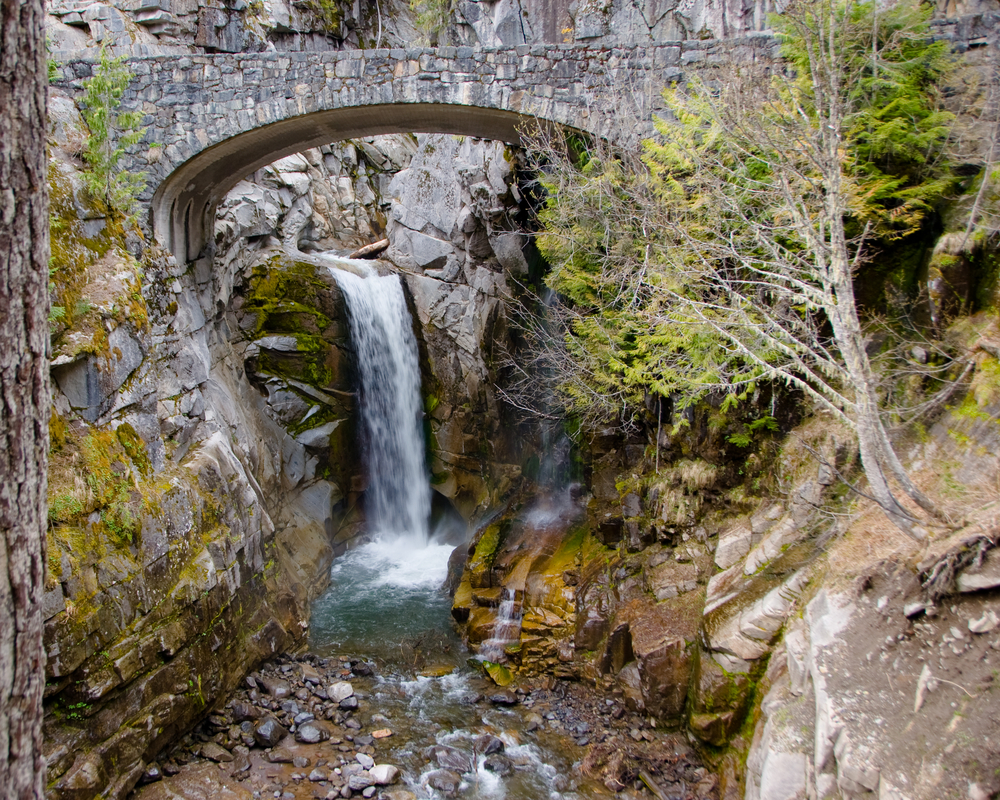
Warm up your camera and photographic eye with a stop at Christine Falls, situated about halfway between the Nisqually entrance and the Paradise area. This two-part waterfall plunges over 60 feet and flows from Van Trump Creek. The falls are actually named after the daughter of P.B. Van Trump. He was one of the first people to climb Mount Rainier in 1870.
These glittering falls are made ever more picturesque by the Christine Falls Bridge spanning the lower waterfall. This bridge does make it quite hard to photograph both falls, but its organic brickwork makes it blend in beautifully with the landscape.
You’ll find a small parking lot for Christine Falls just past the Cornett Falls trailhead. From there, you’ll need to take a few steps to the lower falls viewpoint. This path can be slippery and unsafe in winter, so be extra cautious if you visit during this time.
2. Stop to Admire Narada Falls
- Distance: 0.2 Miles Roundtrip
- Elevation Gain: 72 ft
- Difficulty: Easy
- Trail Guide: Link
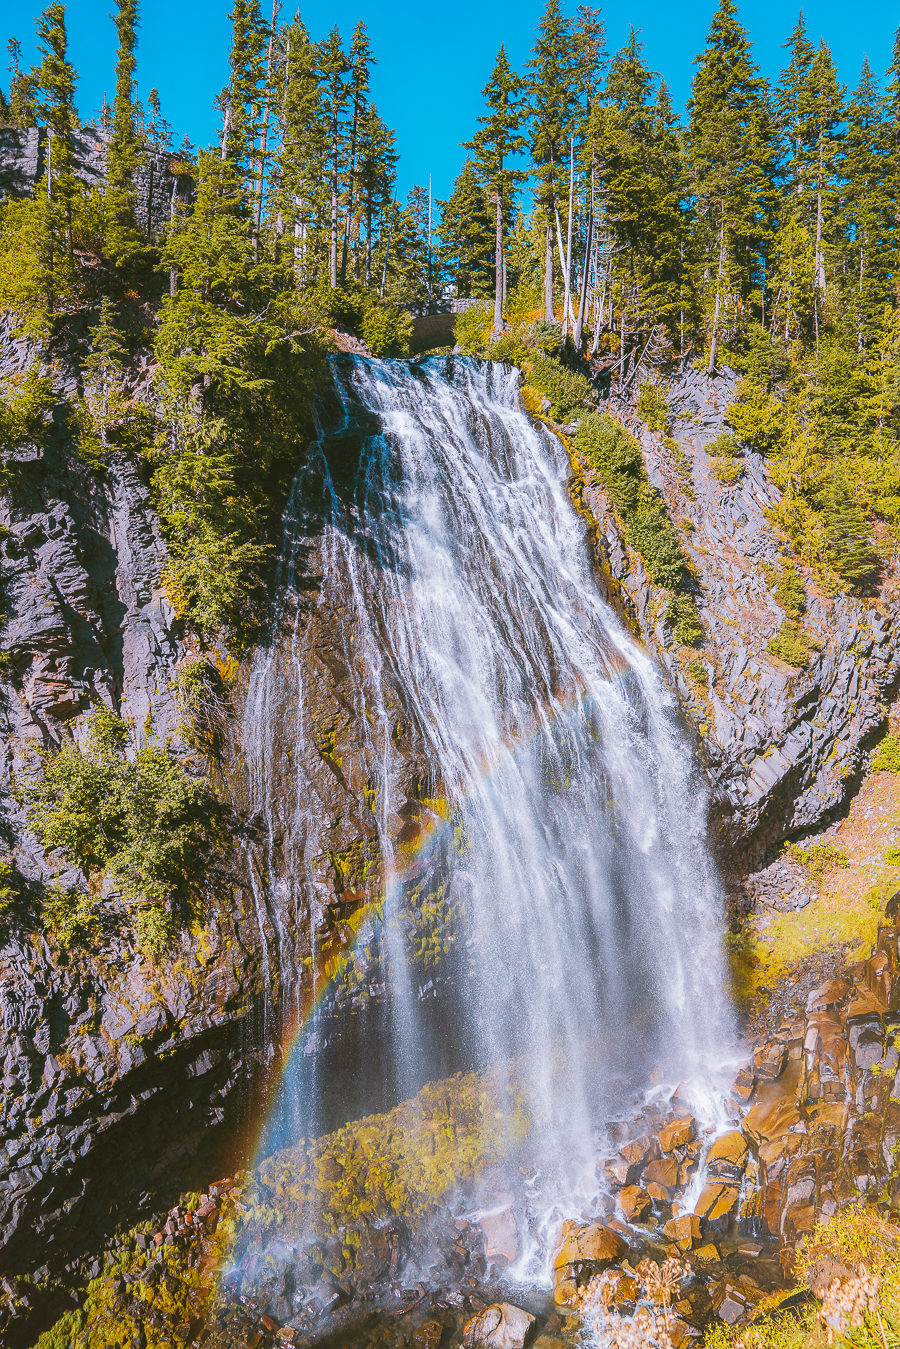
The hike down to Narada Falls is short and slippery but completely worth the trek. This waterfall sits along the road to Paradise, about five minutes from Christine Falls, and consists of two parts. The first part is a 159-foot horsetail fall, while the second is a short 17-foot plunge into a pool.
The falls are especially stunning in winter when it freezes over — you may even spot a few ice climbers. But the best time to visit would be during the summer when there’s less chance of icy and slippery conditions.
There’s a small parking lot with restrooms and a seating area near this waterfall. This viewpoint also connects to the Wonderland Trail that leads to Reflection Lakes. But we’ll get to that attraction in a bit.
3. Hike the Skyline Loop Trail
- Distance: 5.7 Miles Roundtrip
- Elevation Gain: 1,768 ft
- Difficulty: Moderate to hard
- Trail Guide: Link
The Skyline Trail Loop is one of the absolute best national park hiking trails, and it’s certainly one of the most popular trails in Mount Rainier National Park. Winding past open fields scattered with trees and offering spectacular views of Mt Rainier, there’s no doubting why this hike is so popular.
The trail also leads past the breathtaking Myrtle Falls, a dramatic cascade of 72 feet featuring Mt Rainier as its backdrop. These falls are one of the most photographed spots in the park.
Tip: If you don’t have enough time or the energy for a full hike, you can simply walk the 0.8-mile out-and-back trail to the Myrtle Falls Viewpoint.
The best time to hike this trail is during late spring or summer when the surrounding fields come to life with wildflowers, and the skies are slightly clearer.
At such a high elevation, this trail (and park) experiences drastic weather changes. So you may find yourself starting off with clear views and ending up with mist-obscured vistas. Pack warm clothing layers in case the weather changes, and always check the forecast beforehand.
In winter, the trail becomes the 5-mile, round-trip Panorama Point Snowshoe trail. This trail is for more advanced hikers, as you’ll have to follow a map carefully to avoid avalanche areas. Be sure to check in with a park ranger before taking on this hike, as they might have a few life-saving tips.
3. Hike the Nisqually Vista Trail
- Distance: 1.1 Miles round trip
- Elevation Gain: 200 ft
- Difficulty: Easy
- Trail Guide: Link
If you’re looking for an easy and accessible hike, the Nisqually Vista Trail is an excellent alternative to the Skyline Trail. It is one of the only paved hiking trails in the national park and only takes about half an hour to complete. The trail leads to a stunning viewpoint of Mount Rainier and the Nisqually Glacier.
In winter, this short and easy trail is one of the safest and easiest options for snowshoeing in Mount Rainier.
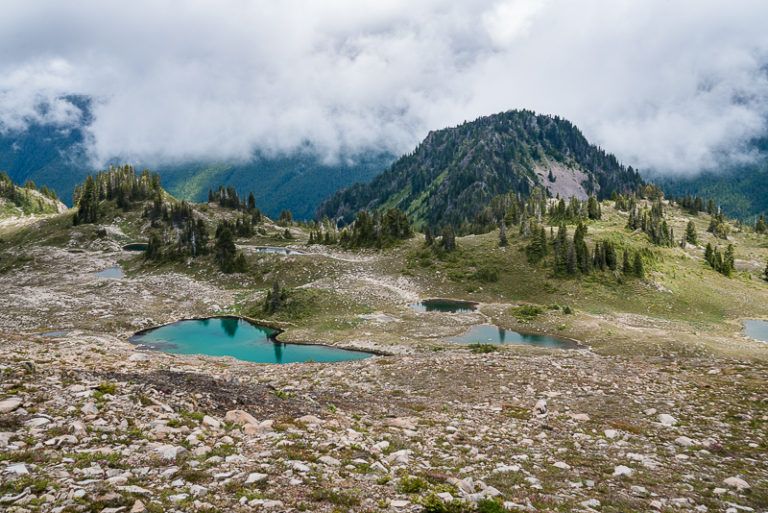
4. Snap Some Photos at Reflection Lakes
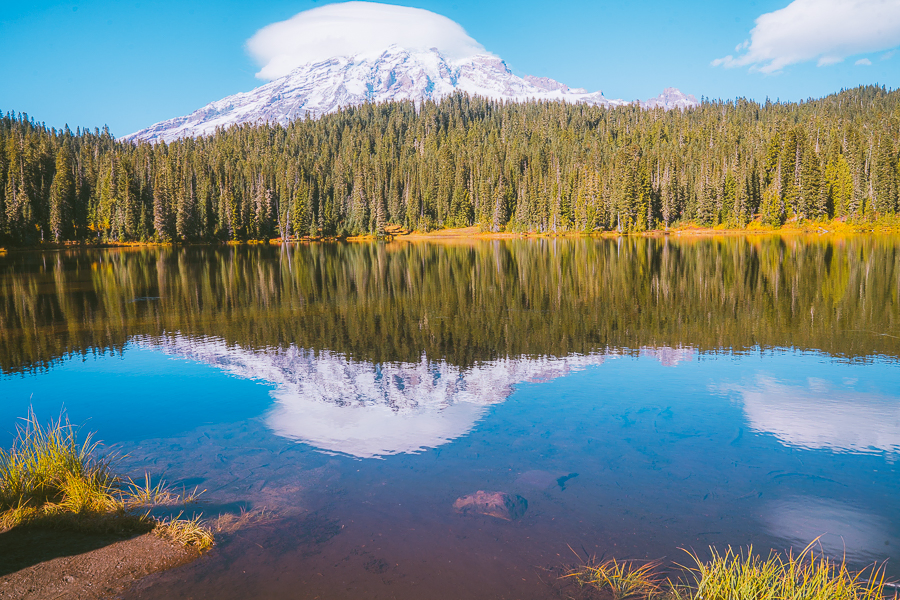
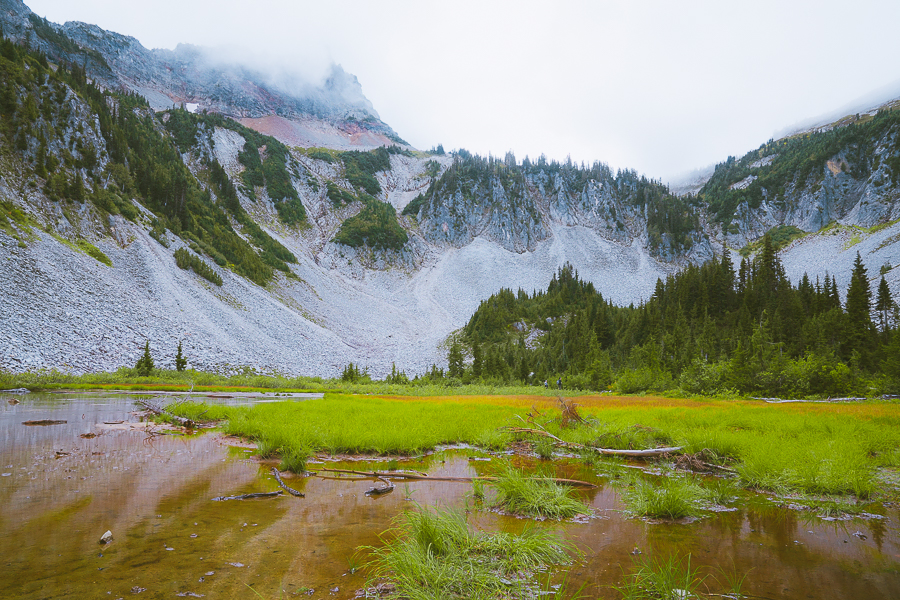
One of the must-see and absolutely iconic areas in Mount Rainier National Park is around Reflection Lakes. As the name suggests, the still lakes filled with crystal clear alpine water serve as a stunning mirror of the verdant landscape, Mount Rainier, and the sky.
In spring and summer, you’ll be able to capture colorful images, possibly featuring some wildlife among the flowers. In fall, the lake reflects the stunning reddish hues of the turning leaves. Pair that with a golden sky, and you have a postcard-worthy shot!
You can easily reach Reflection Lake by driving along Stevens Canyon Road from Paradise. You may have to wait for a parking spot, as this is a top attraction in the park.
Note: Stevens Canyon Road is only open during the warmer months, usually from June to September.
5. Hike the Bench And Snow Lakes Trail
- Distance: 2.2 Miles out-and-back
- Elevation Gain: 446 ft
- Difficulty: Moderate
- Trail Guide: Link
The hike to Bench and Snow Lakes is a great alternative option if the Skyline Trail is a bit overcast. The moderate hike takes just over an hour to complete and leads to two alpine lakes.
Your first stop will be Bench Lake. This glassy body of water is stunning, reflecting the few trees and mountains surrounding it. After a few dips and climbs along the trail, you’ll come across the second lake, Snow Lake. This one has a bit more greenery surrounding it.
The trail doesn’t really provide many views of Mount Rainier, but it’s a great, moderate hike that’s perfect during summer. By late summer, you might even spot a few blueberry and huckleberry trees carrying fruits.
Grab Your Free Car Camping Checklist! 🚗🌲
Ready to elevate your car camping game? Snag our essential checklist to ensure you’ve got everything you need for a stress-free, fun-filled adventure! Perfect for beginners and seasoned campers alike. Download now and hit the road prepared! 🌟🎒
6. Eat Lunch in Packwood
After a morning of adventuring, you’ll probably have quite the appetite. Luckily, you won’t have to travel too far for a satisfying meal.
Situated about an hour’s drive from the Paradise area and a 10-minute drive from the Stevens Canyon entrance, the little town of Packwood is the perfect stop for lunch. Stop at The Mountain Goat for your caffeine fix, or head to Packwood Brewing Co. for some easy bites.
You’ll also have the option of munching down on some hearty burgers from Cliff Droppers, while the Zest Srithai food truck offers mouth-watering Thai meals. Alternatively, stop by Cruiser’s Pizza or Nacho’s Mexican Restaurant for some carb-packed goodness.
7. Hike Grove Of The Patriarchs Loop
- Distance: 1.1 Miles Round trip
- Elevation Gain: 52 ft
- Difficulty: Easy
- Trail Guide: Link
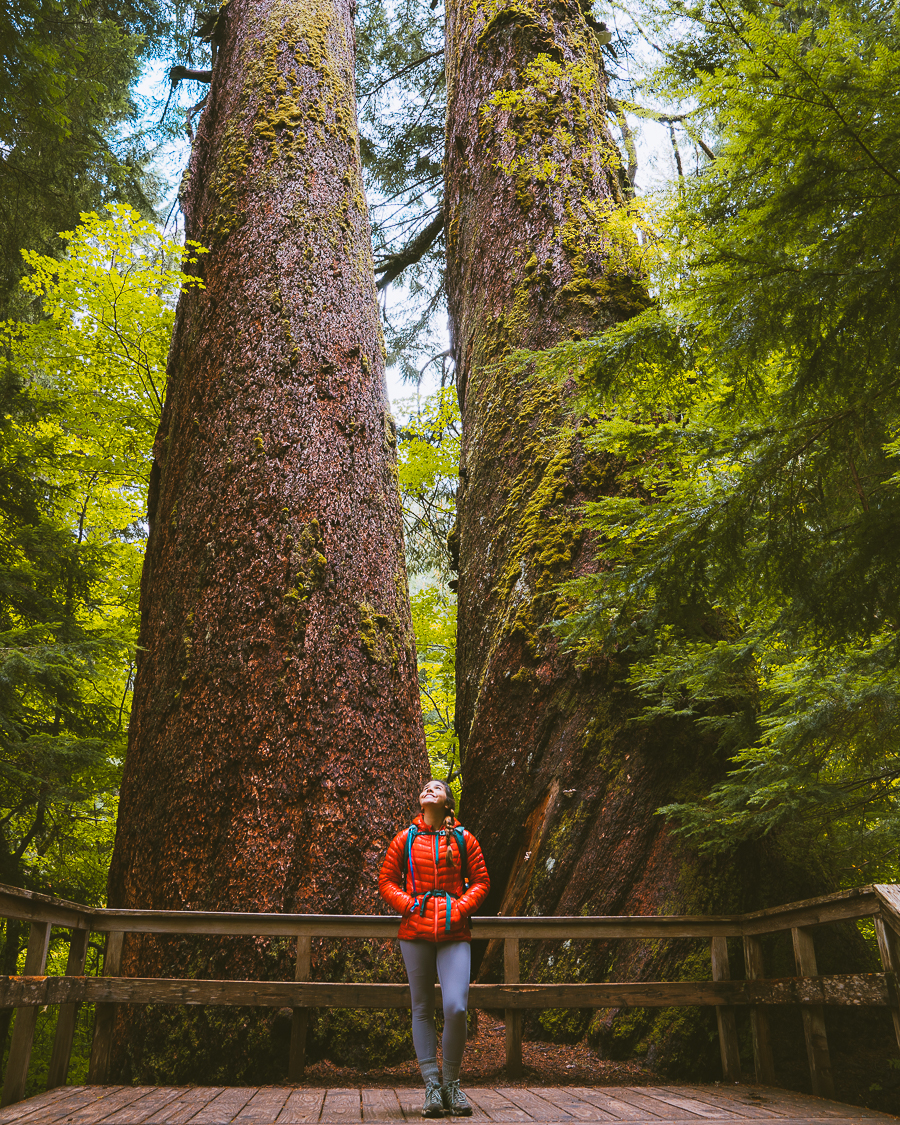
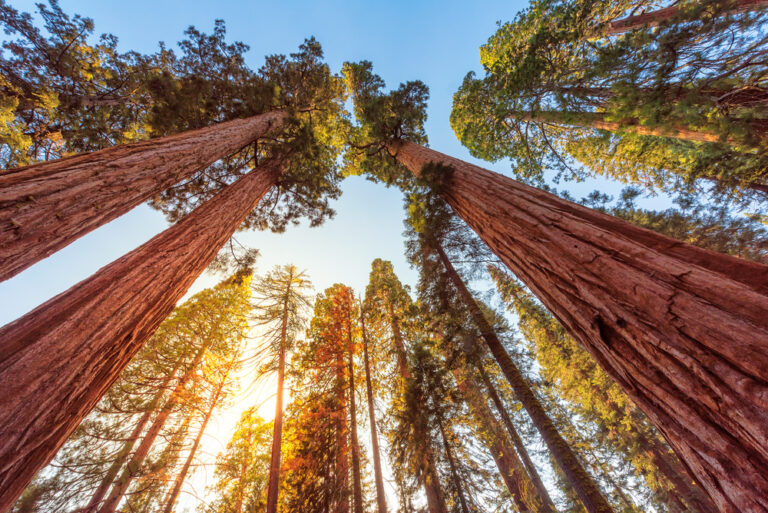
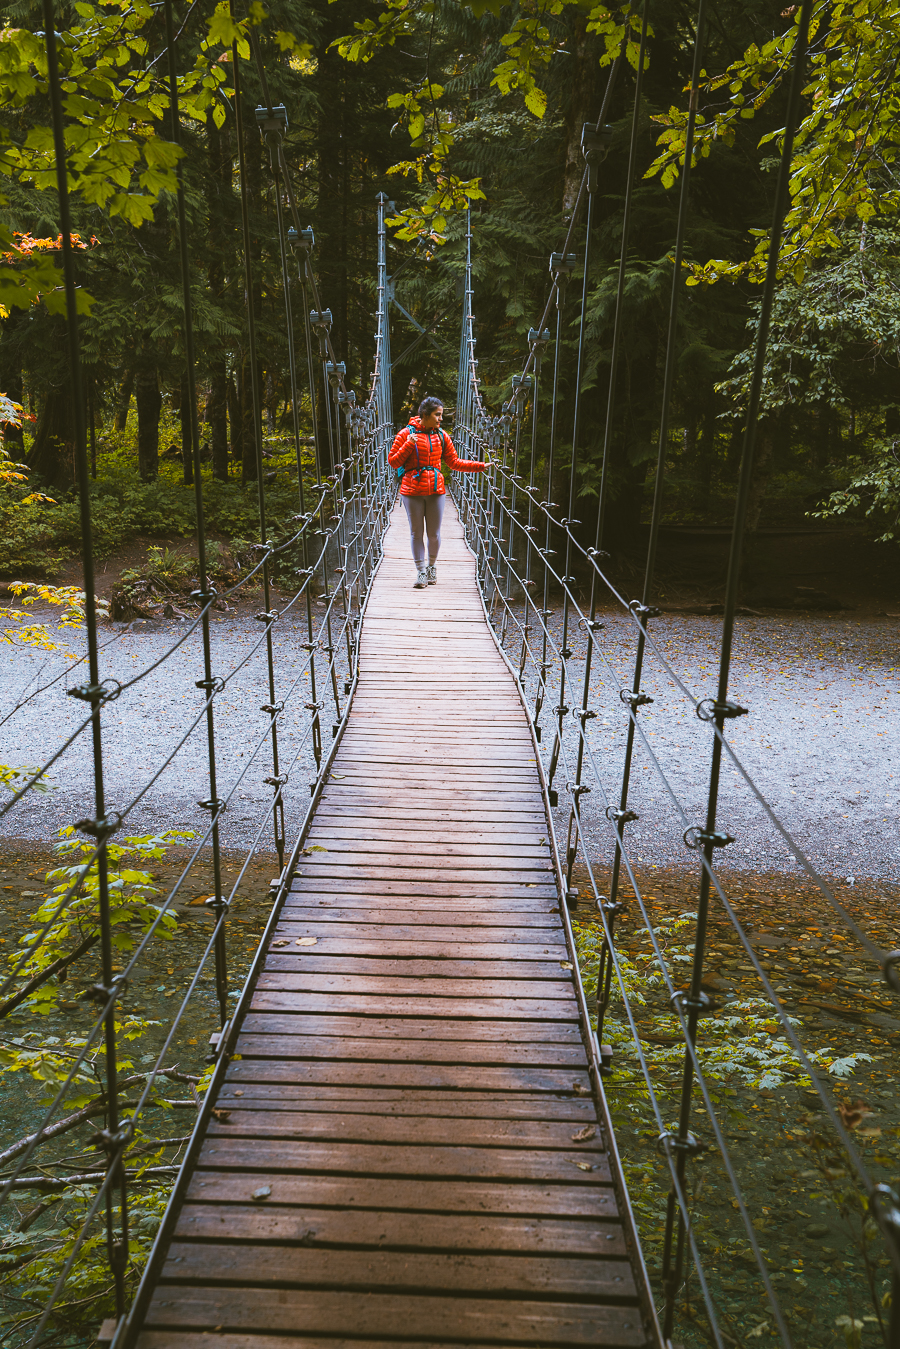
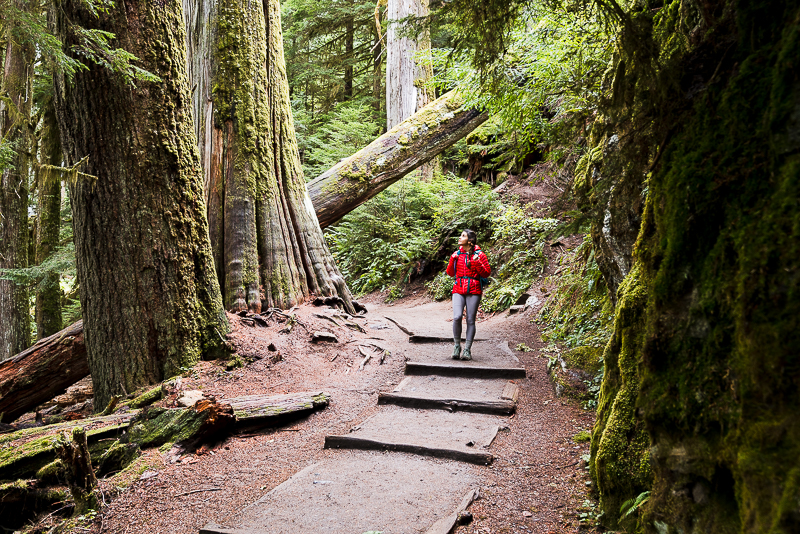
After refueling in Packwood, it’s time to take on the Grove of the Patriarchs Loop trail, about 20 minutes from Packwood. This easy round-trip hike is pretty popular because it passes by ancient “patriarchs” (towering old-growth trees) growing on an isolated island. To reach the island, you’ll have to cross the glittering waters on a suspension bridge.
This hike is great for all ages, with much of the path consisting of a boardwalk. There are also landing areas where you can pose next to the massive, moss-covered cedars, Douglas-firs, and hemlocks — some of which tower over 300 feet high.
Note: As of November 2021, this trail is closed due to the suspension bridge suffering extensive flood damage. Check the U.S. National Park Service Website for up-to-date information about this trail.
8. Hike Silver Falls
- Distance: 2.9 Miles Roundtrip
- Elevation Gain: 518 ft
- Difficulty: Easy
- Trail Guide: Link
If you’re seeking a bit of a longer hike and have any leftover energy, the Silver Falls Loop is a great option. This trail near the Ohanapecosh Campground and Visitor Center is a bit less frequented than the Grove of the Patriarchs but no less beautiful.
In fact, there are many spots along the trail that may just leave you in awe. There are even a few slip-off paths leading to cliffs overlooking the Ohanapecosh River. So try not to rush through the hike if you have enough time.
Read More: 16 Best Things To Do in Mount Rainier National Park, Washington
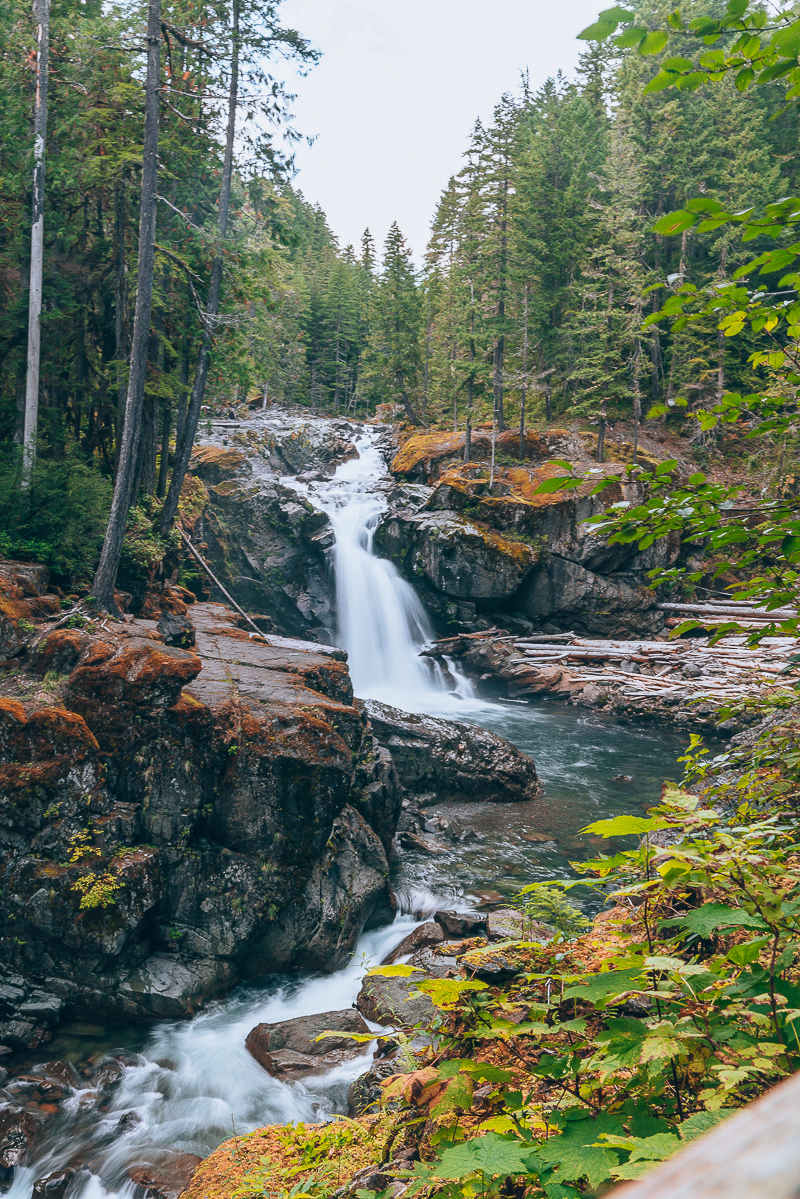
The trail winds through a verdant old-growth forest, but the highlight of this hike is, of course, the Silver Falls. The falls tumble across many ledges before ending with a 40-foot drop into a turquoise pool. The waters are a bright blue due to the minerals present in the river and the cascading waters rushing into the pool.
The most popular trailhead for this hike is at the Ohanapecosh Visitor Center, where there are parking and restrooms available. But if you decide to do a combination hike, there’s another Silver Falls trailhead near the Grove of the Patriarchs Trail parking lot.
Download my Washington Hiking Checklist!
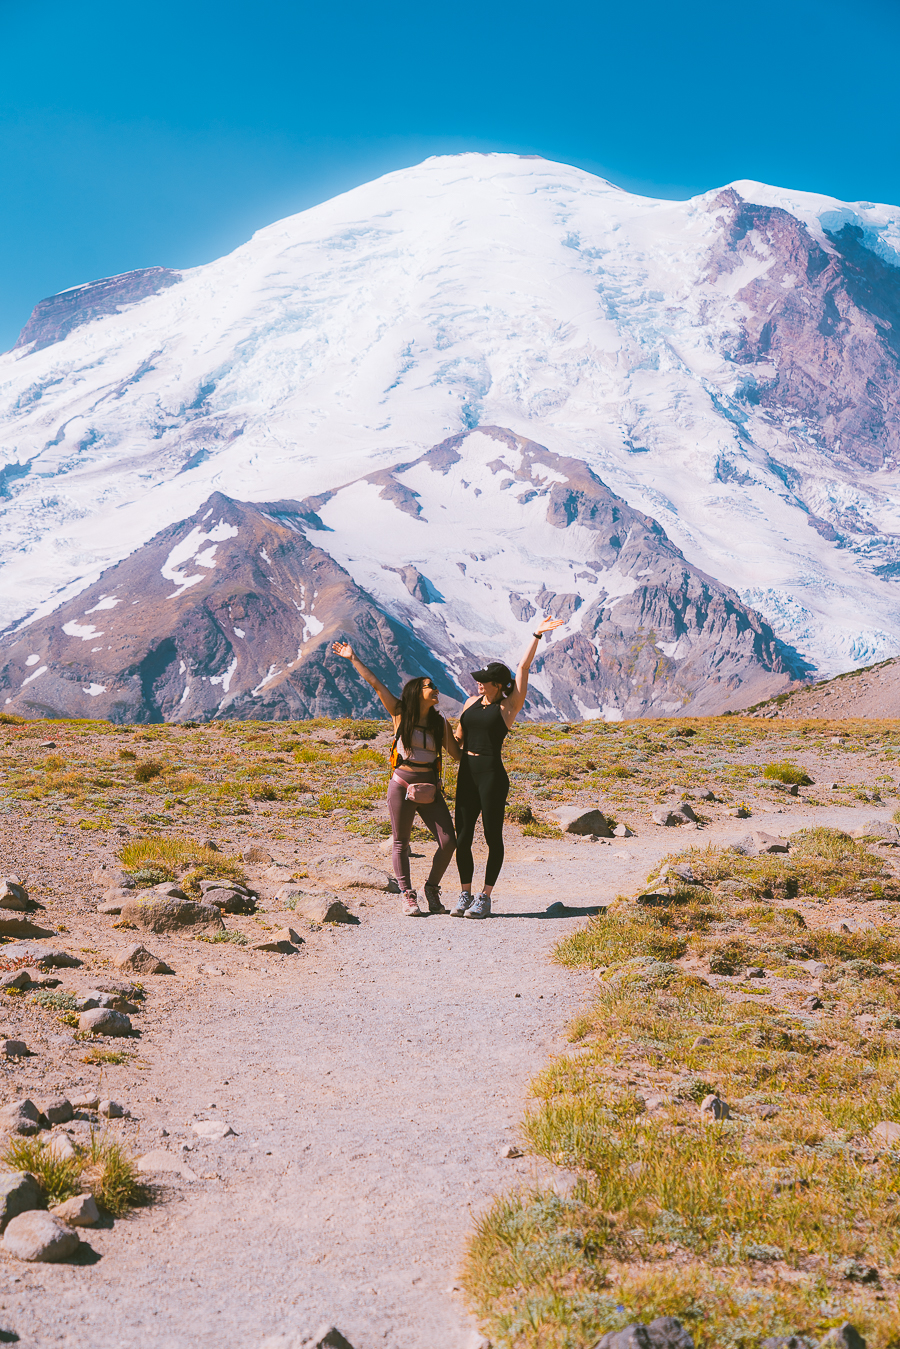
What To Do in Mt Rainier in One Day | Sunrise Area
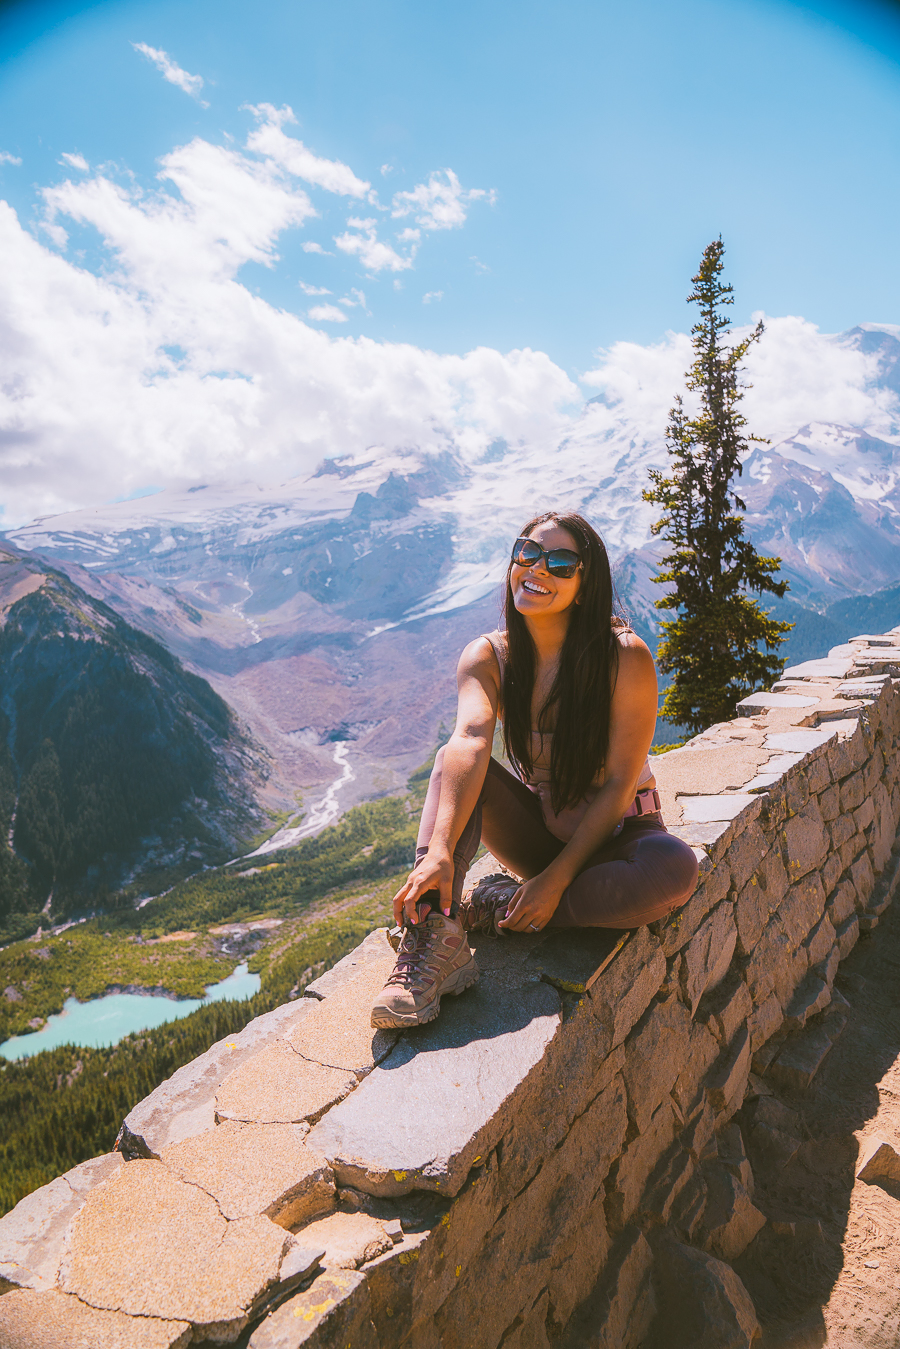
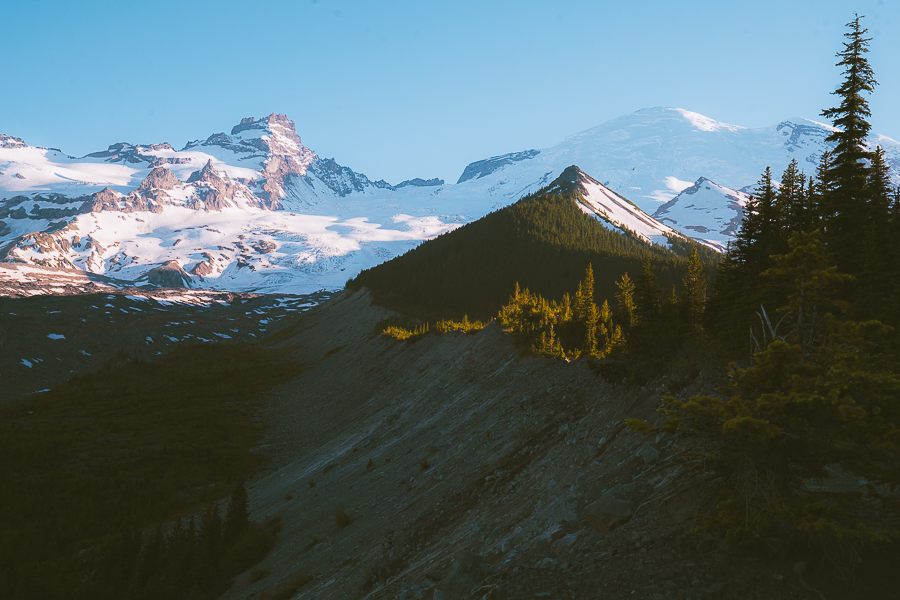
Mt. Rainier’s Sunrise area sits at the northeastern end of the park and is the highest point of the park, reachable by vehicle. Here, you’ll find wildflower meadows, up-close views of The Mountain, and some accessible and challenging hiking options.
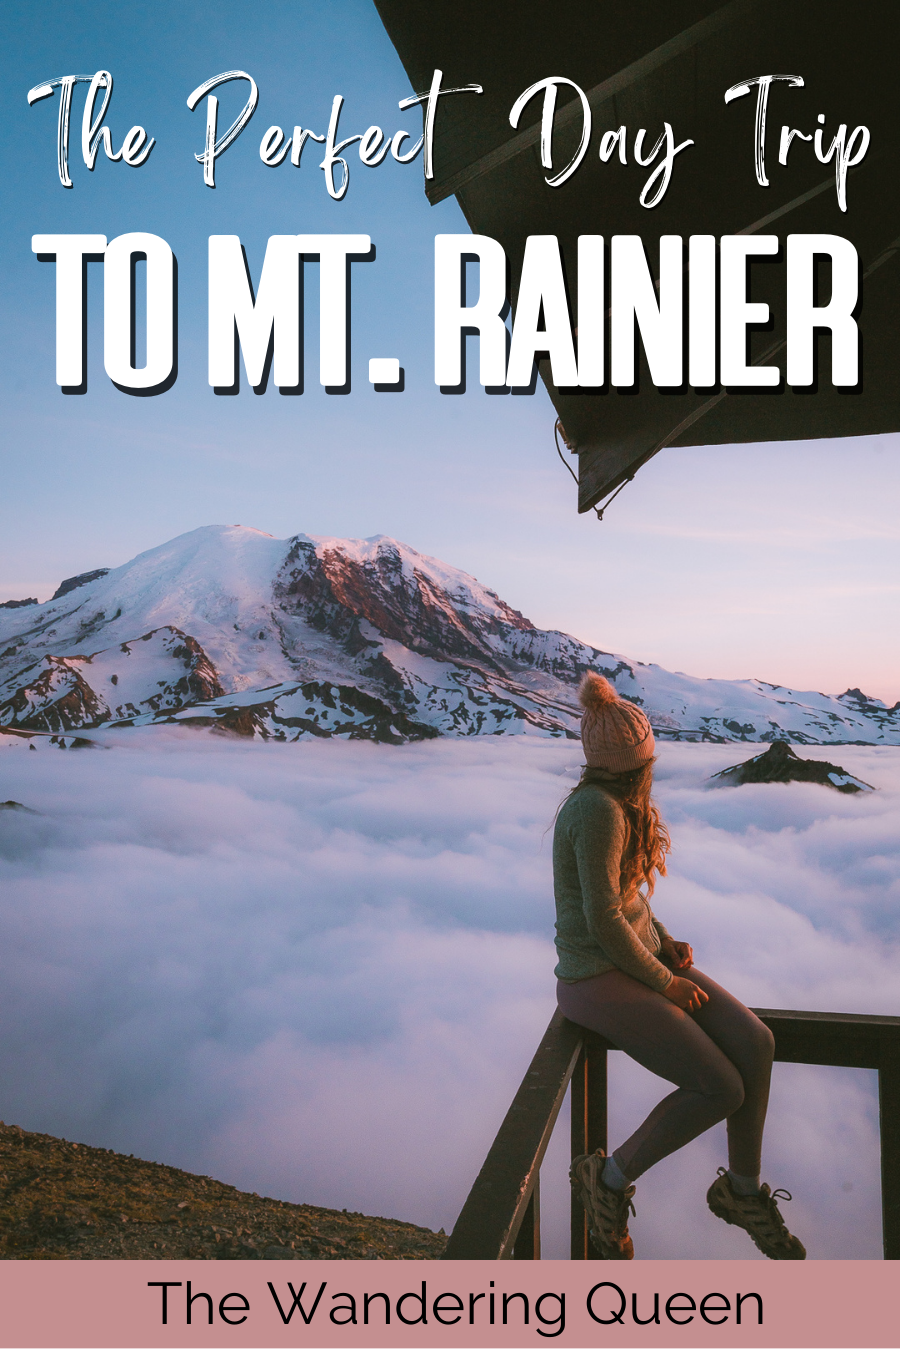
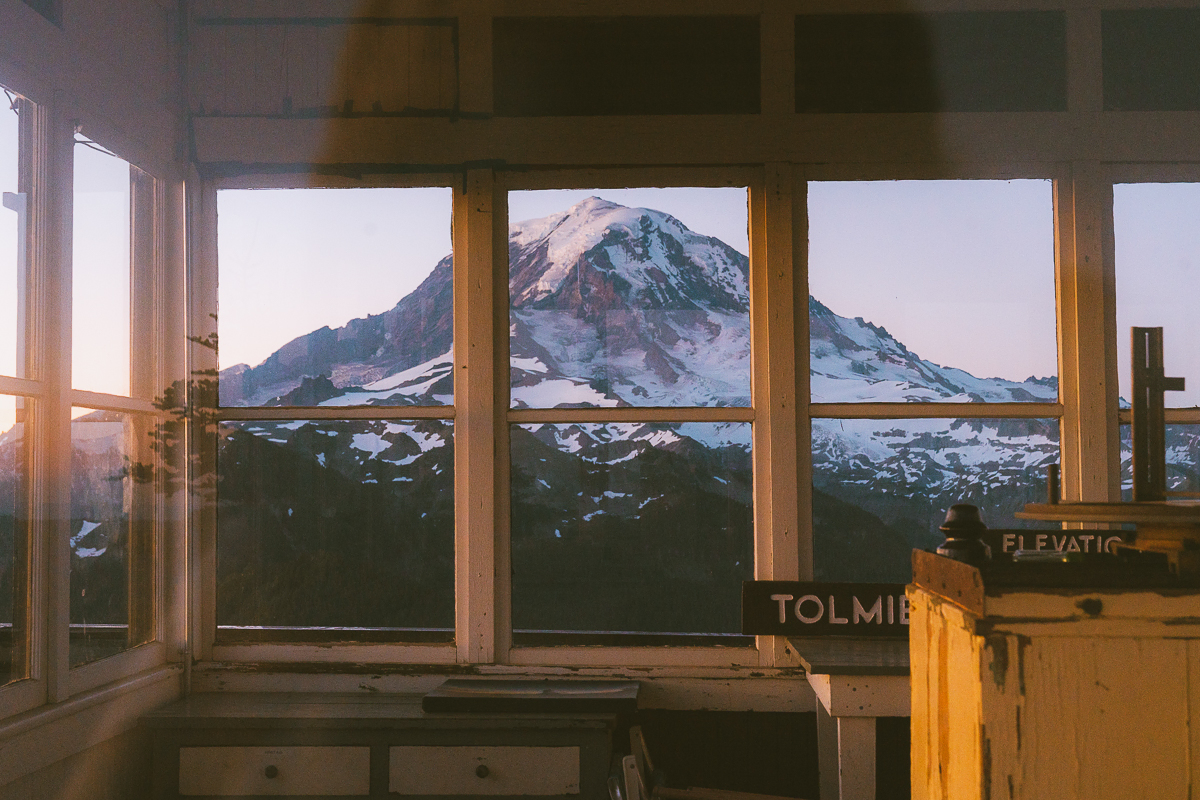
1. Hike to Fremont Lookout for Sunrise
- Distance: 5.7 miles round trip
- Elevation Gain: 1,118 ft.
- Difficulty: Moderate
- Trail Guide: Link
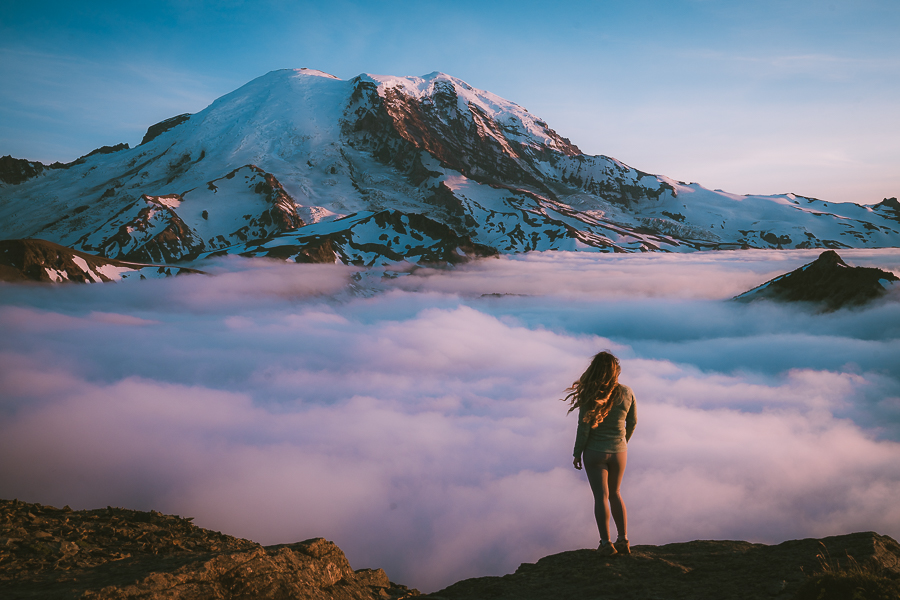
What better way to start your day than to admire the morning sun spilling across Mount Rainier and its surroundings? Hiking the Fremont Lookout Trail is one of the best activities in Washington State.
Read More: Mount Fremont Lookout Trail | Ultimate Amazing Hiking Guide
There are over 90 fire lookouts remaining in the state, and they tend to offer some of the most breathtaking views. You can even sleep in some of them! The Fremont Lookout was built in 1934 and overlooks Grand Park, Skyscraper Mountain, Berkeley Park, and Redstone Peak — with Mount Rainier as the towering focal point.
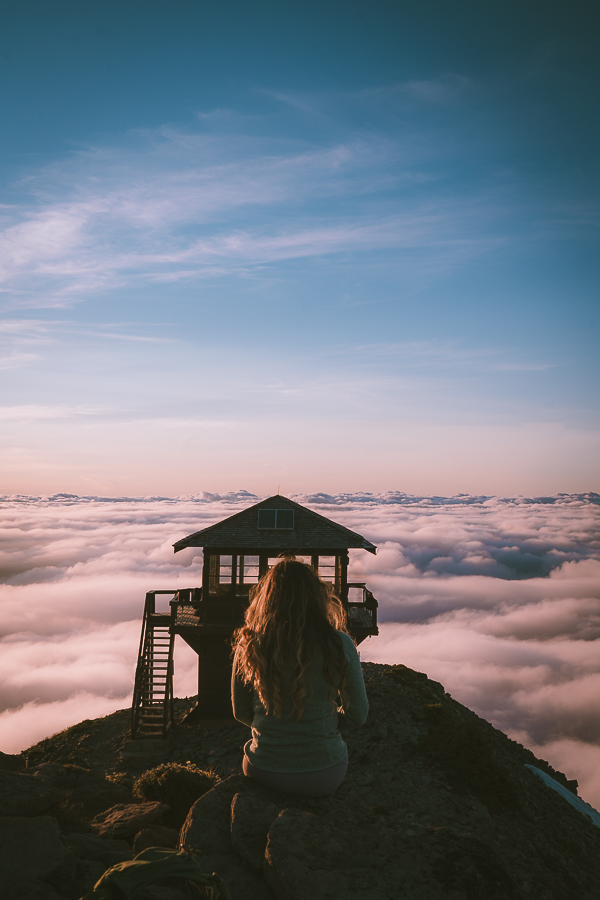
The moderate hike up is a visual treat, as you can see Mount Rainier from several points along the trail. Bring a flask of coffee along to enjoy your morning brew with some memorable views from the lookout.
If you’re looking for a shorter hike, you can simply take the 2.9-mile Sourdough Ridge trail until the Frozen Lake intersection and turn back.
Tip: You can also do this hike at sunset, but it’s quite popular at this time, so you may encounter a more crowded trail.
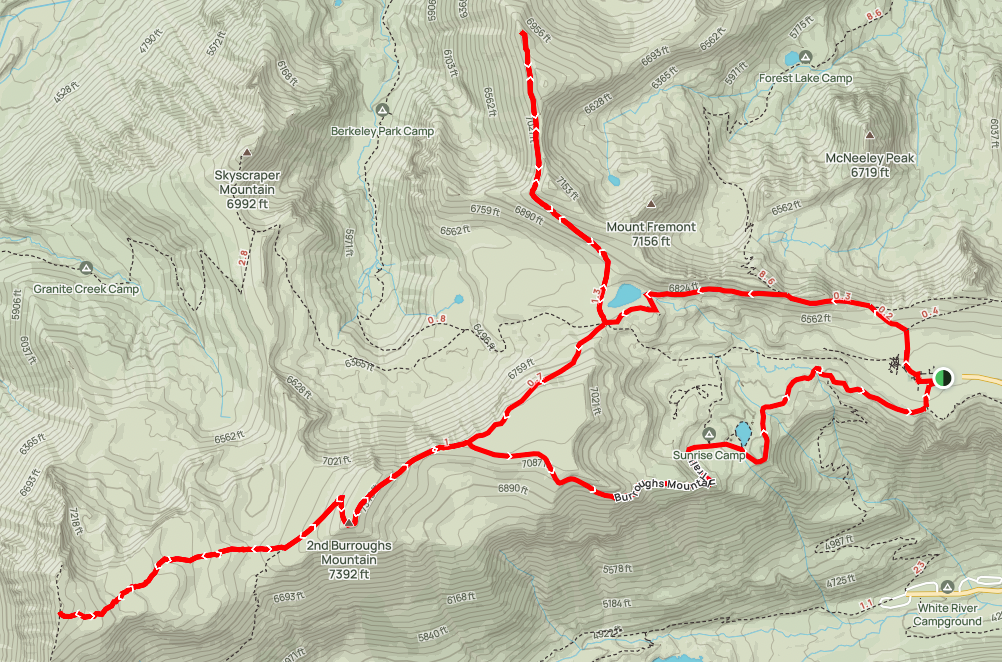
2. Hike Burroughs Mountain Peak
- Distance: 9.4 Miles Roundtrip
- Elevation Gain: 2,562 ft
- Difficulty: Hard
- Trail Guide: Link
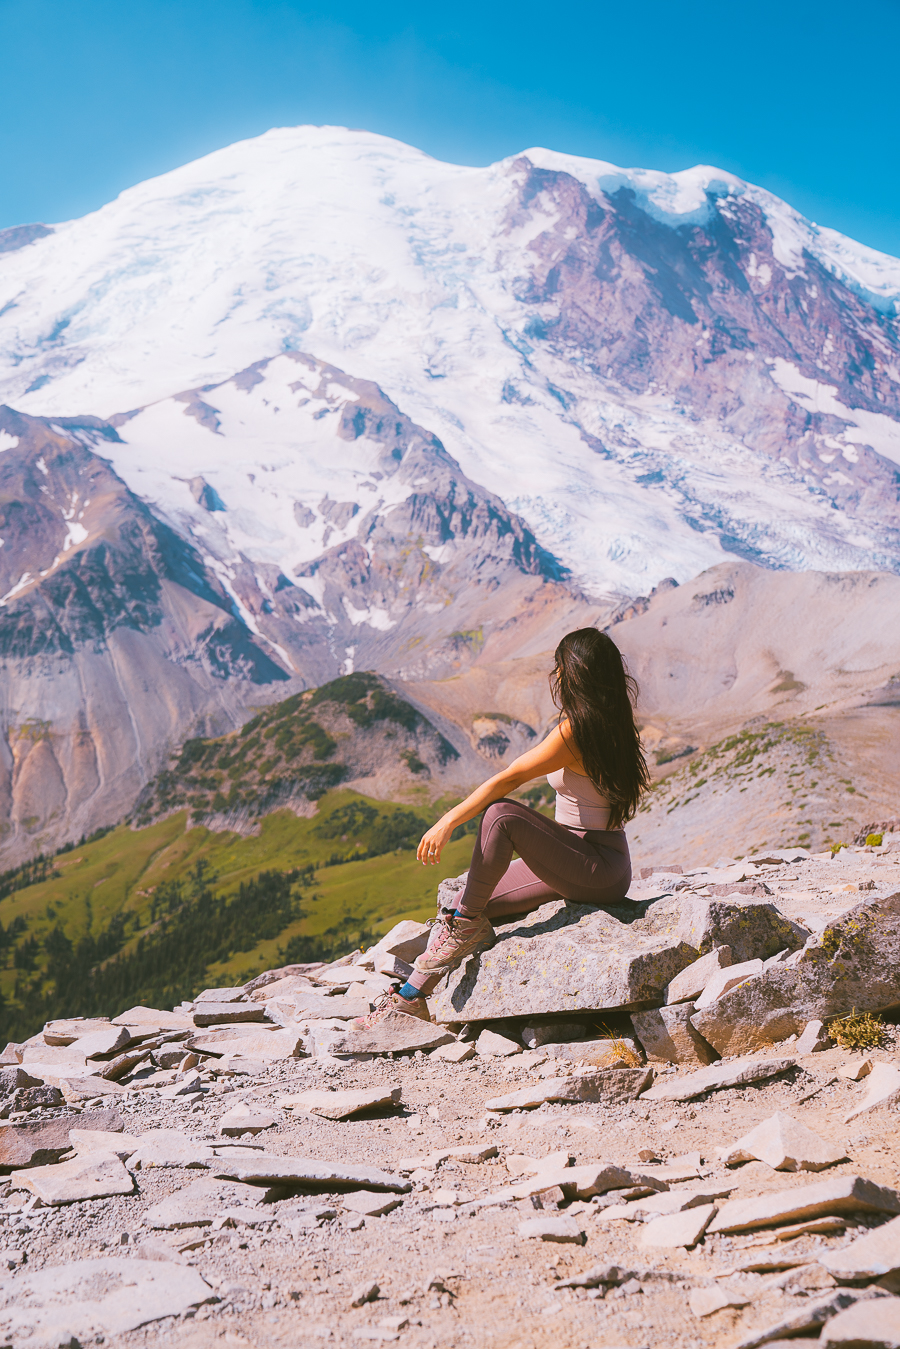
If you’re seeking more of a challenge, you can take on the Burroughs Mountain Trail. This hike leads to three Burroughs Mountain peaks, the last of which hugs the northeastern side of Mount Rainier. It’s one of the best trails if you’re looking to get up close to the mountain.
There are generally two ways to take on this hike. If you’re short on time or energy, you can simply hike to the First and Second Burroughs. But if you’re up for it, hiking the entire 9.4-mile loop is absolutely worth it.
Out-and-back to First and Second Burroughs:
The shorter, out-and-back trail kicks off at the northern side of Sunrise Visitor Center and follows the Sourdough Ridge Trail. This trail offers stunning views of Mt Rainier and leads to the five-way Frozen Lake Trail Junction.
From there, you’ll take the Burroughs loop Trail up to First Burroughs and the Burroughs Mountain Trail to Second Burroughs.
Loop Trail to Third Burroughs:
Once at the second summit, you can simply return the way you came. Or, if you’re up for a bit more walking, you can take the unmaintained path down a valley on its west end.
The trail follows a few switchbacks and leads through a barren pumice field before ascending to the final summit. The top of Third Burroughs offers rewarding views in every direction and an up-close look at Mount Rainier.
To complete the loop, you’ll follow the Sunrise Rim trail down to Sunrise Camp. The path down is equally rewarding, as you’ll pass a bright blue lake and wildflowers during summer.
3. Pack a Picnic Lunch
The Sunrise Area is a bit further from the surrounding towns, and there are no restaurants in the park. So you’ll want to bring a packed lunch for the day. Settle down at one of the benches at the Sunrise Picnic Area near the Visitor Centre and soak up the views of Mount Rainier while there.
4. Hike the Naches Peak Loop Trail
- Distance: 3.3 Miles Roundtrip
- Elevation Gain: 636 ft
- Difficulty: Moderate
- Trail Guide: Link
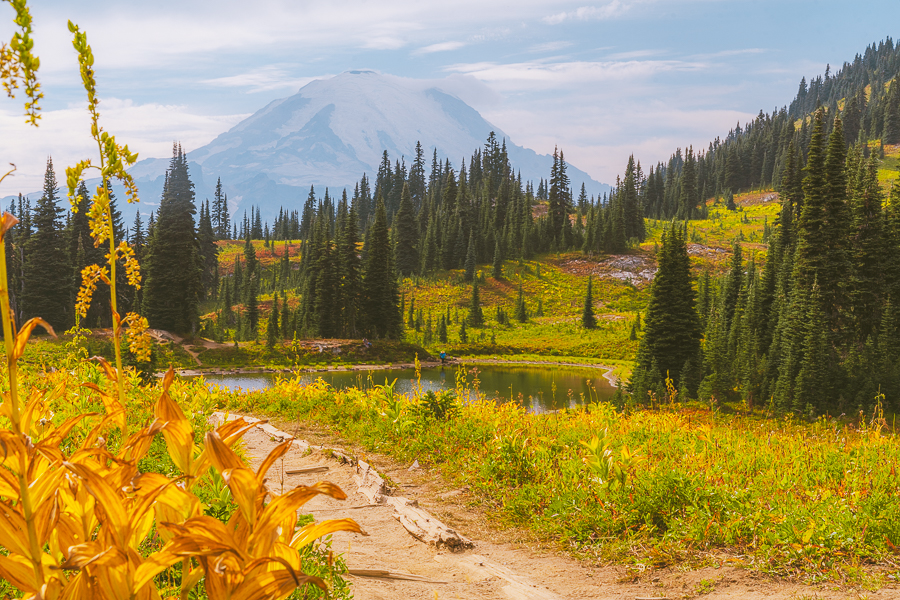
Just under an hour’s drive from the Sunrise Area, the scenic Naches Peak Loop trail has become quite popular. The moderate trail is relatively flat, although a bit rocky and sandy, making it a great option for hiking with the family.
The hike kicks off near Tipsoo Lake. In summer, especially around July and August, the trail is lined with beautiful wildflowers, while fall brings a wash of warm hues.
Tip: For the best views of Mount Rainier, be sure to follow the trail in a clockwise direction.
Tips on Taking a Day Trip to Mt Rainier From Seattle
Below are a few tips to help you plan your one-day trip from Seattle to Mount Rainier.
Arrive Early
Thanks to its beauty and variety of hiking trails, Mount Rainier National Park is super popular. It’s especially busy during August when the summer wildflowers are at their peak. Try to get to the park entrance well before 8 am to avoid long lines. Once the queue builds up, it can easily take about 2 hours to enter the park.
Visit During Late Summer Or Fall
As August is the peak season for tourists, try to visit the park later in the summer season or during the first few weeks of fall. This way, you’ll avoid the peak season crowds, and you’ll get to spot some dramatic fall foliage, with hopefully minimal snowfall.
If you want to visit during the summer, a weekday visit is highly recommended, as weekends are extra busy.
Check The Forecast Before You Go
Conditions in the park can change rapidly. Check the Mt. Rainier National Park Twitter account for the most recent weather updates before setting out on your day trip.
Know Which Roads Are Open
This is especially important if you’re planning a visit during winter. Due to heavy snowfall, certain roads are closed during the winter months. Certain areas may also have limited access times due to a shortage of staff and safety concerns. Check the National Park Service’s official website for up-to-date information on which roads are open before your visit.
Download my free Outdoor Photography Guide
Bring Tire Chains
Carry a set of tire chains in your boot, especially if you’re visiting the park between November and May, when you’re required to have them before entering. With snow falling as late as June, you may encounter icy trails that are unsafe to drive on without snow chains.
Map Out Your Plans
If you’re only spending one day in Mount Rainier National Park, you’re going to want to do some careful planning. Take into account how far each attraction is from the next, and note the duration for each trail. You’ll also want to account for time spent in traffic or trying to find parking when planning your itinerary.
This will help you to be realistic with your time and expectations for the day and allow you to enjoy the day without too much stress about time.
Save Your Maps Offline
Cell service can be hit or miss in Mount Rainier National Park. So try to save your planned hiking trails and maps to all the different attractions offline. Also, be sure to inform someone you trust of your whereabouts before entering the park.
Keep Your Park Entry Receipt
You’ll briefly leave the park on your way from Paradise to Sunrise, if you plan on visiting both areas. So keep your park entry receipt to show at the next entrance and avoid having to pay again.
Go With a Full Tank
There are no fuel stations within the park. You can fill your tank at fuel stations in nearby Ashford or Packwood.
Leave No Trace and Stay on Designated Paths

Mount Rainier’s unique ecology and intricate ecosystems are vulnerable to external disturbances like foot traffic and litter. Remember to practice the seven principles of “Leave no Trace” and take everything you brought back with you.
Remain on designated spaces and trails, and don’t step into the flower meadows just to take an Instagram-worthy shot. You may also come across some cute critters like marmots and squirrels during your visit. As cute as they are, do not feed any of the animals in the park.
Seattle to Mount Rainier in One Day | FAQs
Still have a few burning questions before your Mount Rainier from Seattle day trip? Below are the answers to a few frequently asked questions.
Paradise/ Ohanapecosh vs. Sunrise Area | Which is Better?
The Paradise and Sunrise areas are the two most popular regions of the park, as they offer excellent hikes and views. They’re also both only around a two-hour drive from Seattle.
When it comes to choosing between the two, you may want to keep the season in mind. Paradise is open year-round. The road to the Sunrise Visitor Center, on the other hand, is usually closed between November to May due to winter conditions.
If you’re visiting during the warmer months, the area you choose will depend on which activities you prefer and whether you’re up for big crowds.
The Sunrise area is usually slightly less crowded than Paradise. The Sunrise area also has less steep hikes, with stairs leading up to the hikes. So you may find this area more appealing if you’re a casual or inexperienced hiker.
Can You Do Both Paradise and Sunrise in a Day?
With some careful planning, you can definitely explore the two areas in one day. But it would be best to only stick to one area, as this national park is huge. Traveling between the two areas takes about 1.5 hours, as there isn’t one road within the park that connects the main sections.
How Far is Mount Rainier From Seattle?
Seattle is perfect for planning a day trip to Mount Rainier, as the city is about 90 miles from Mount Rainier National Park. The drive from Seattle to Mount Rainier only takes about 2–3 hours.
Is It Easy to Get to Mount Rainier From Seattle?
It is generally quite easy to get from Seattle to Mt Rainier if you’re driving your own vehicle. Public transport options may be too tedious for a day trip to Mount Rainier, and there is no shuttle within the park.
Ready for Your Mt Rainier Day Trip From Seattle?
Hopefully, this guide on visiting Mount Rainier National Park from Seattle has left you inspired and ultra-prepared for your one-day trip. This national park is truly a photographer’s dream, and its serene landscapes offer the perfect escape from the city bustle.
Just keep in mind that you might not always see the mountain peak, as fog often gathers around it. But, whether the mountain is visible or not, this national park will not disappoint.
If you’re visiting in winter, be sure to check out this guide to the best winter hiking gear and clothes. You may also like these tips on hiking in the snow. Alternatively, have a look at this 2-3 day Olympic National Park Itinerary for more exciting destinations near Seattle.