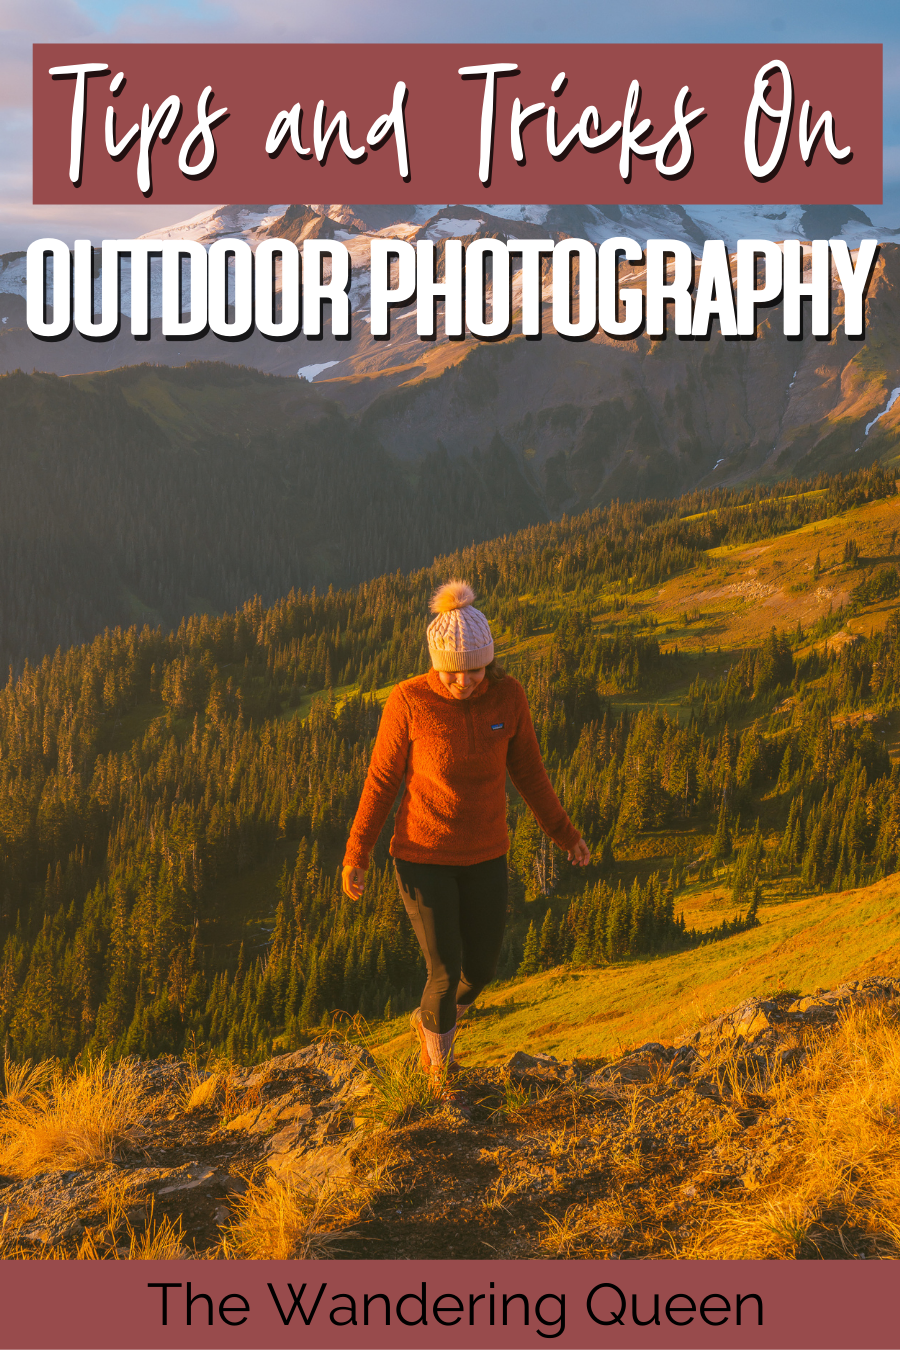
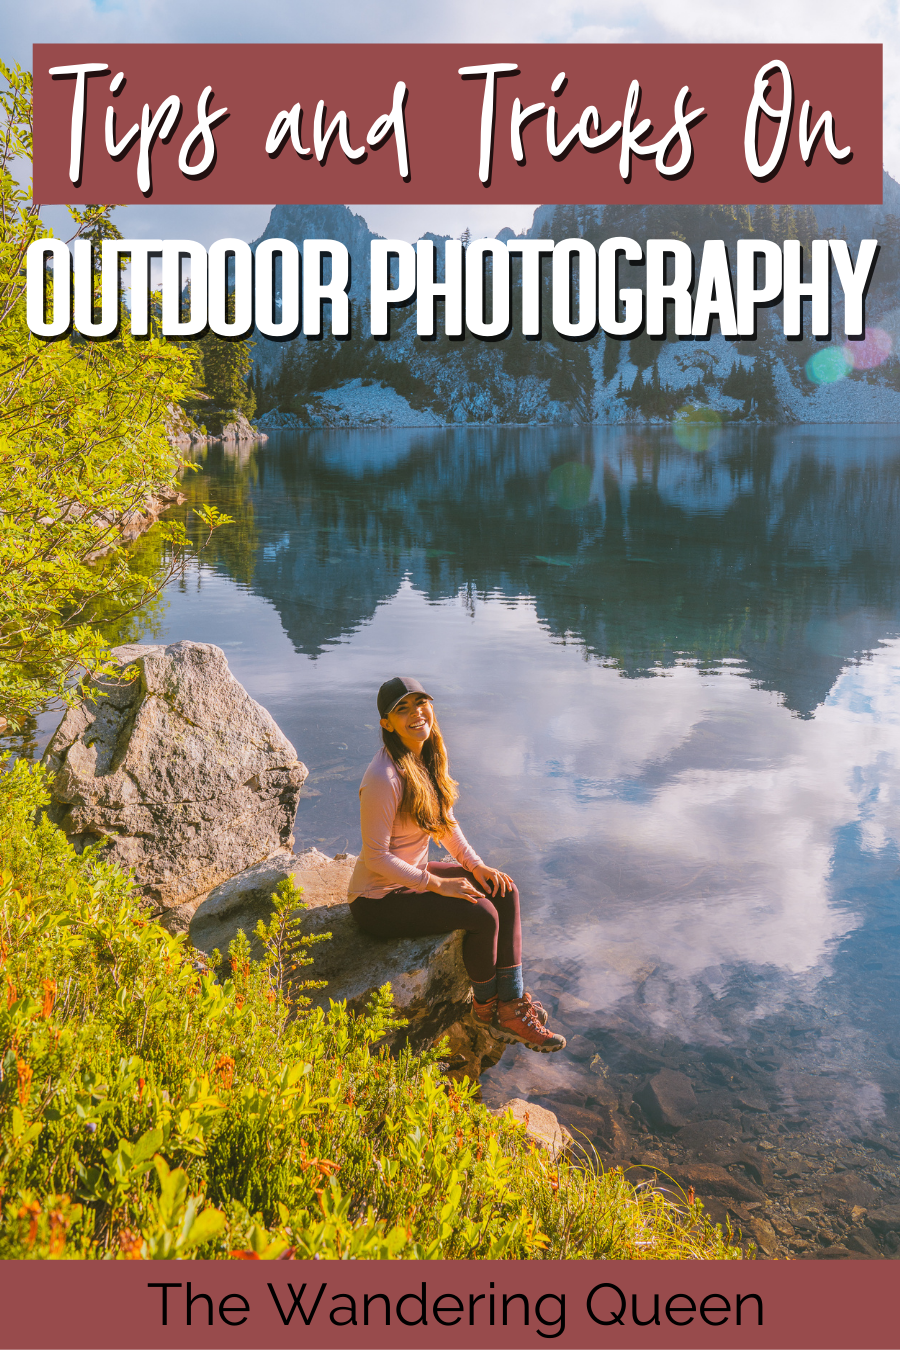
Hiking Photography Tips And Tricks
When I first started my outdoor adventure, I thought that hiking photography would be easy peasy. I mean, mountains are so easy to photograph, right? To my surprise, the pictures that I took didn’t look as epic as when I was there in person. I was so frustrated, and I didn’t understand what to do. But after practicing for years and watching many youtube videos, I have finally figured out how to make the perfect photographs that I love. Read below for my outdoor photography secrets.
Disclosure: This post contains affiliate links. If you click one of them, I may receive a small commission (for which I am very grateful for) at no extra cost to you.
Download my free Outdoor Photography Guide
Hiking Photography Tips And Tricks
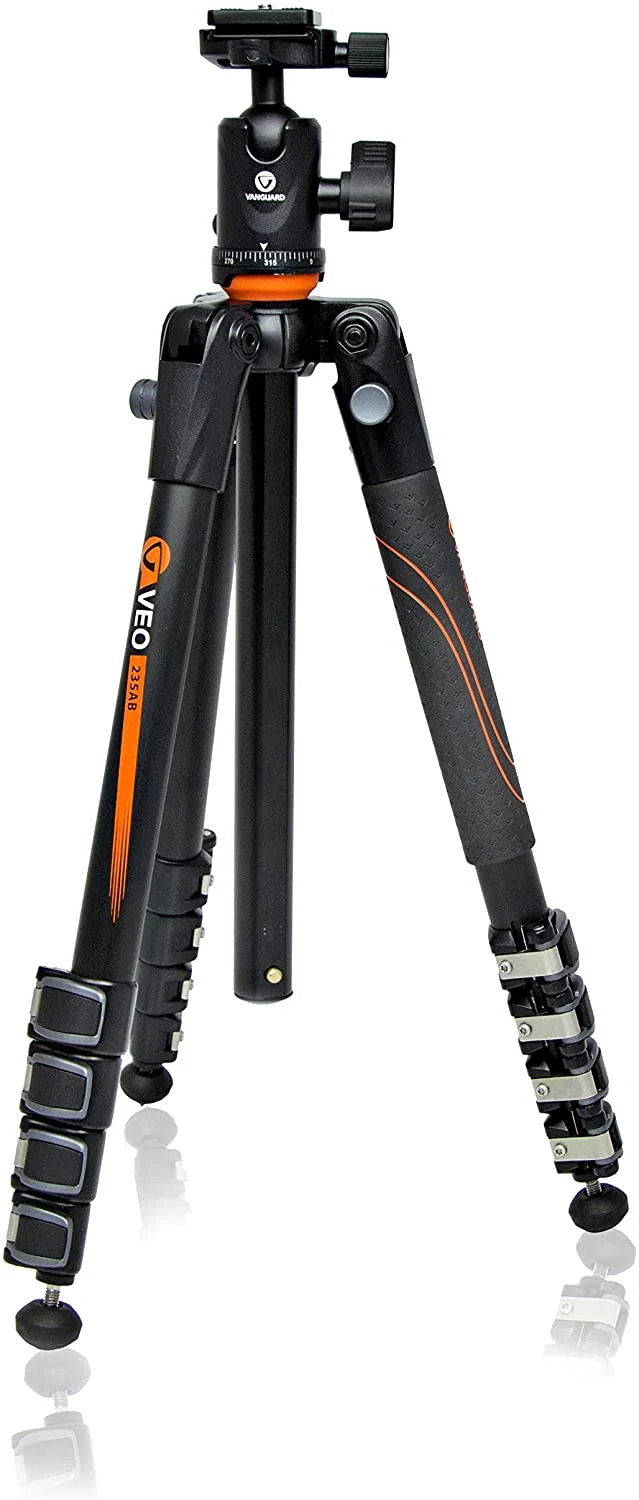
Get Good Photography Gear
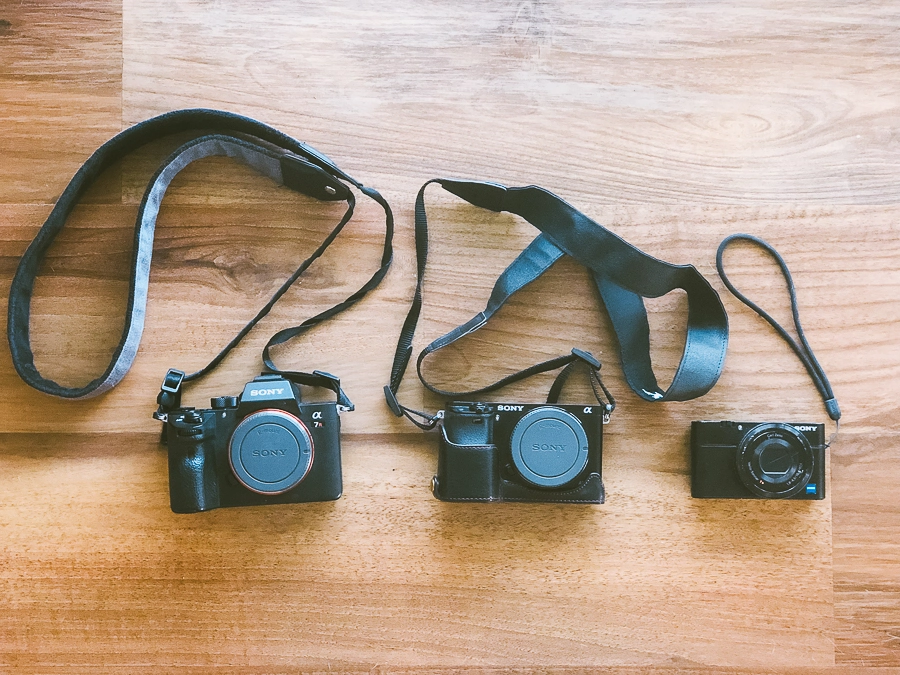
Getting a good quality camera for hiking can improve your outdoor photography. I do want to say that it took me years to get a very high-quality, expensive camera. When I first started, I did not have a costly camera. I wanted to see if this was something that I loved doing before I invested in top-of-the-line gear. That being said I now use Sony equipment to take my photos and they are listed here:
I have a blog post that lists all the cameras and lenses I have used throughout my photography career. That Sony A7Riii is pretty expensive, and I know that it is not in everyone’s budget, so I have listed more cameras that I love here.
Hike During Sunrise Or Sunset
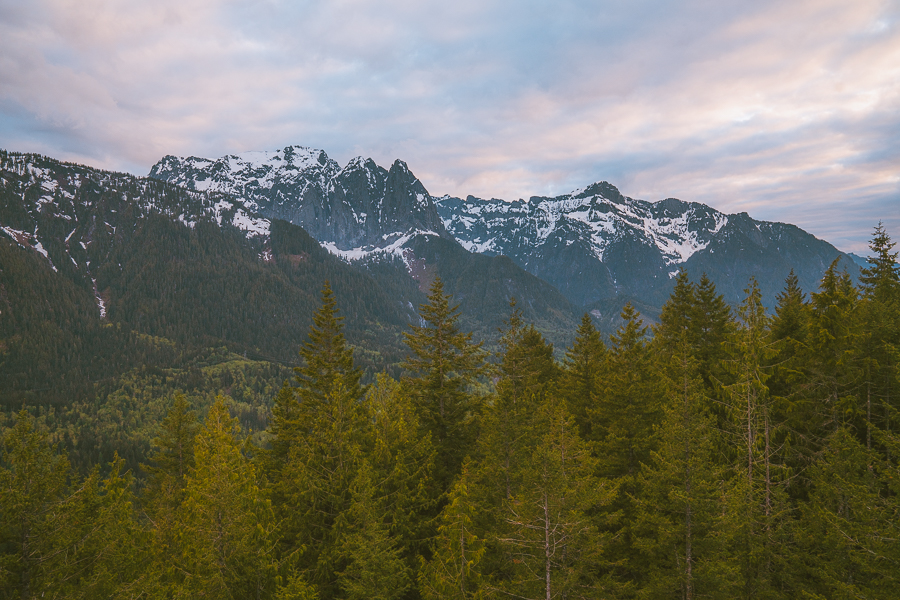
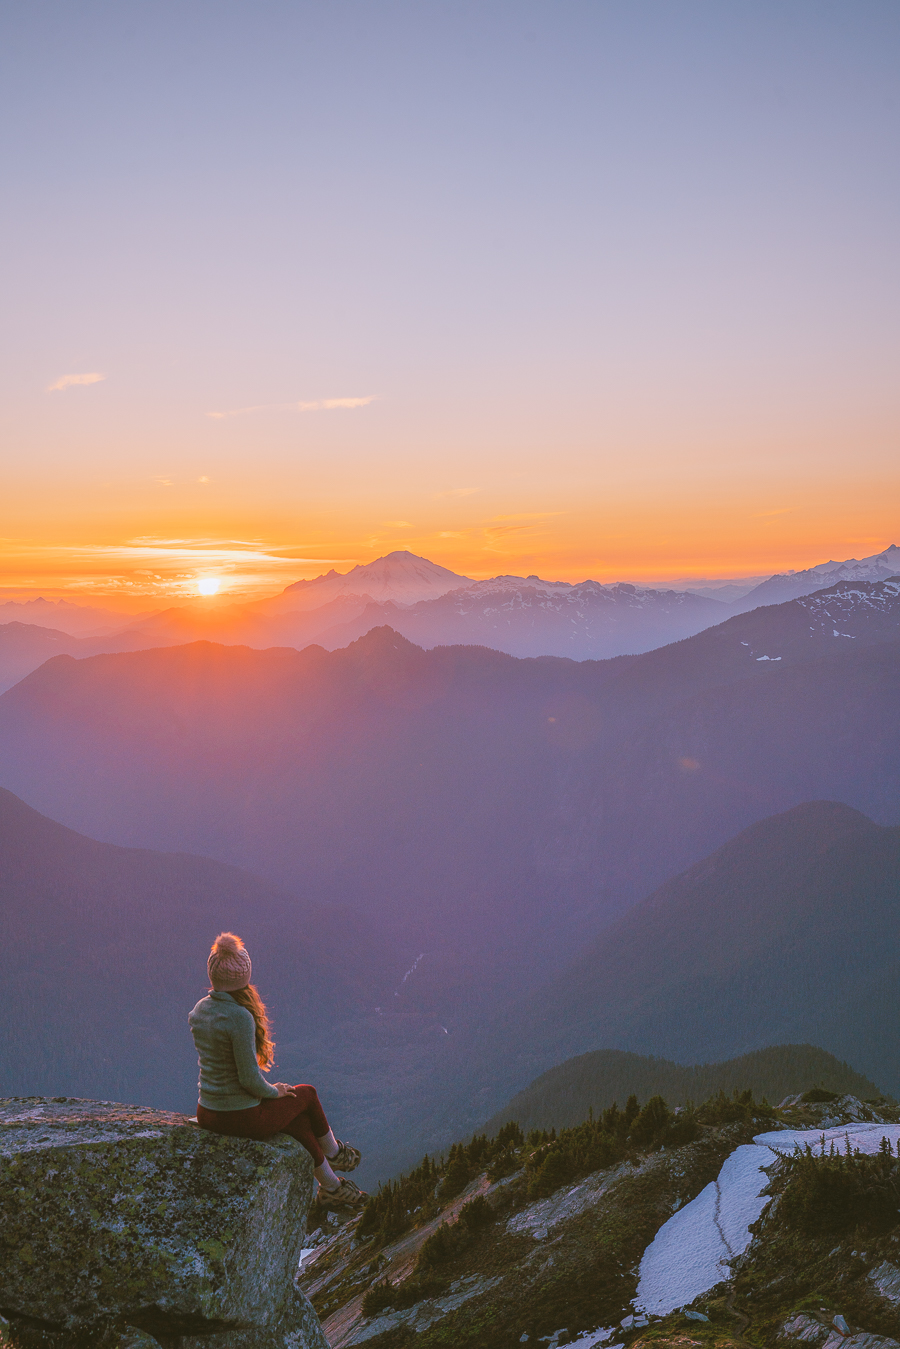
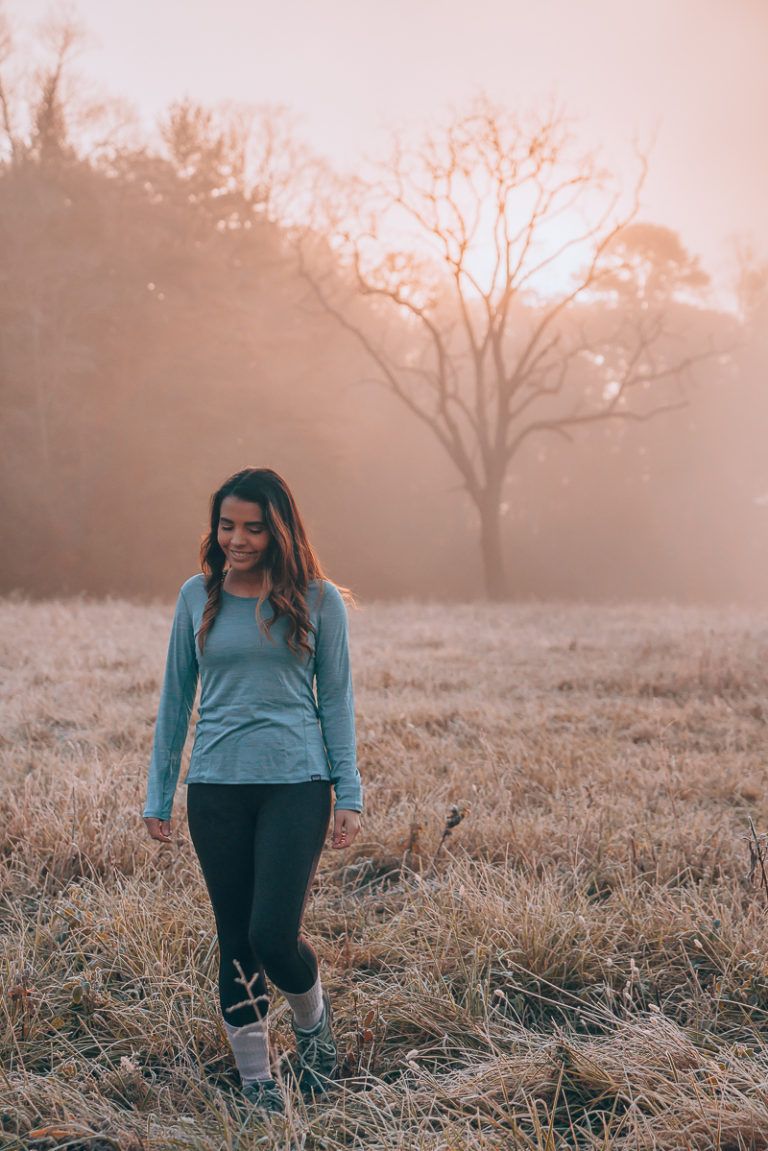
I know the thought of hiking during the night can be a little scary but hear me out. My best photos have always been around sunrise and sunset ( golden hour and blue hour). The sky sometimes turns pink, purple, blue, orange, and red. But I will say that it is such a pain to hike during this time. My bedtime is usually during 9 pm, so sunsets can be tricky, especially if I drive home.
I usually like to go with a group of people to feel safer, and I try to do shorter hikes. I bring bear spray, a knife, trekking poles, my Garmin, and a headlamp. I also have the AllTrails map downloaded on my phone because I have gone on the wrong trail in the dark, as it does look different in darkness.
Backpacking can also be a better option to get a good sunrise or sunset. All you need to do is open your tent and look outside for a colorful sky. You can even take photos with you in your tent.
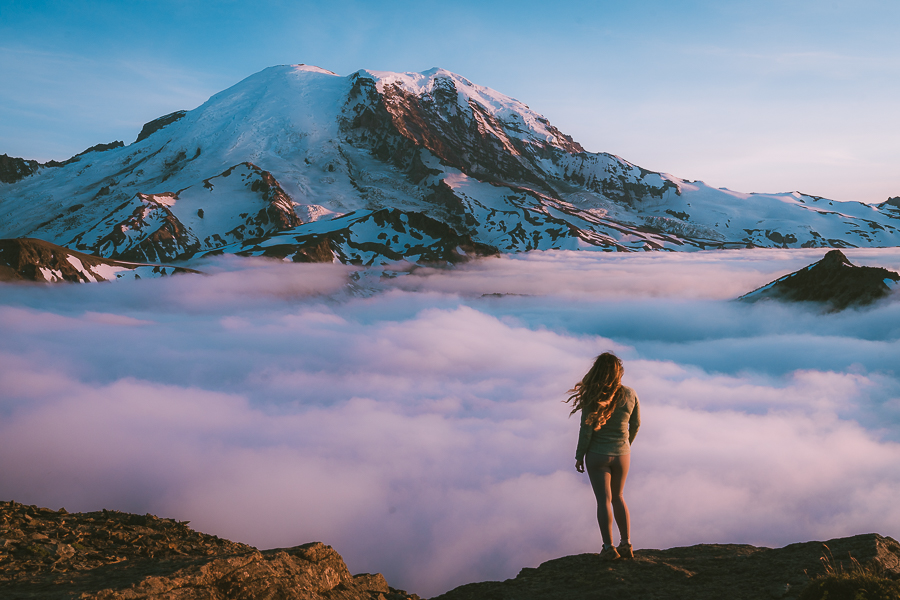
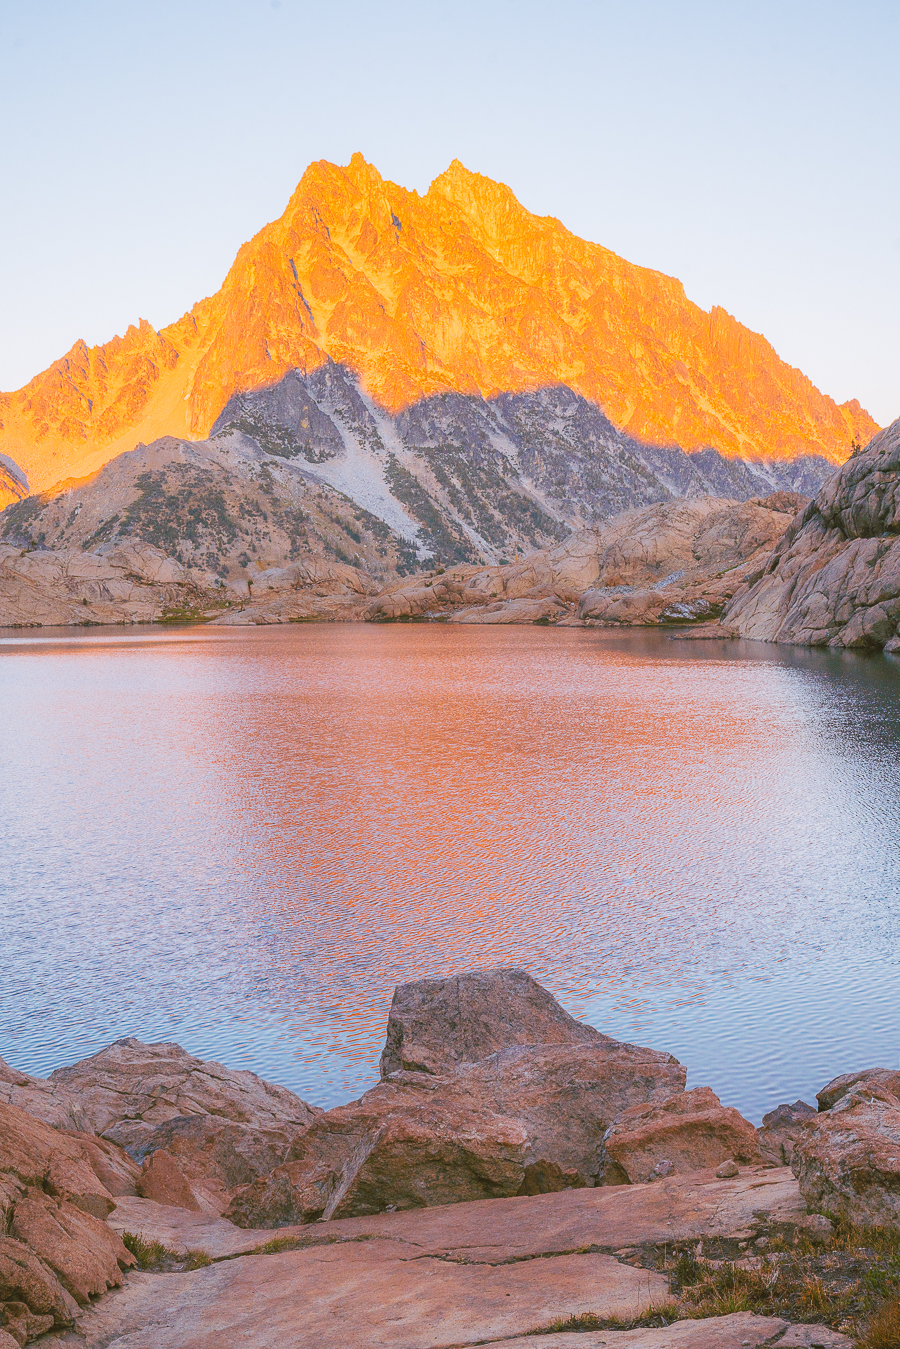
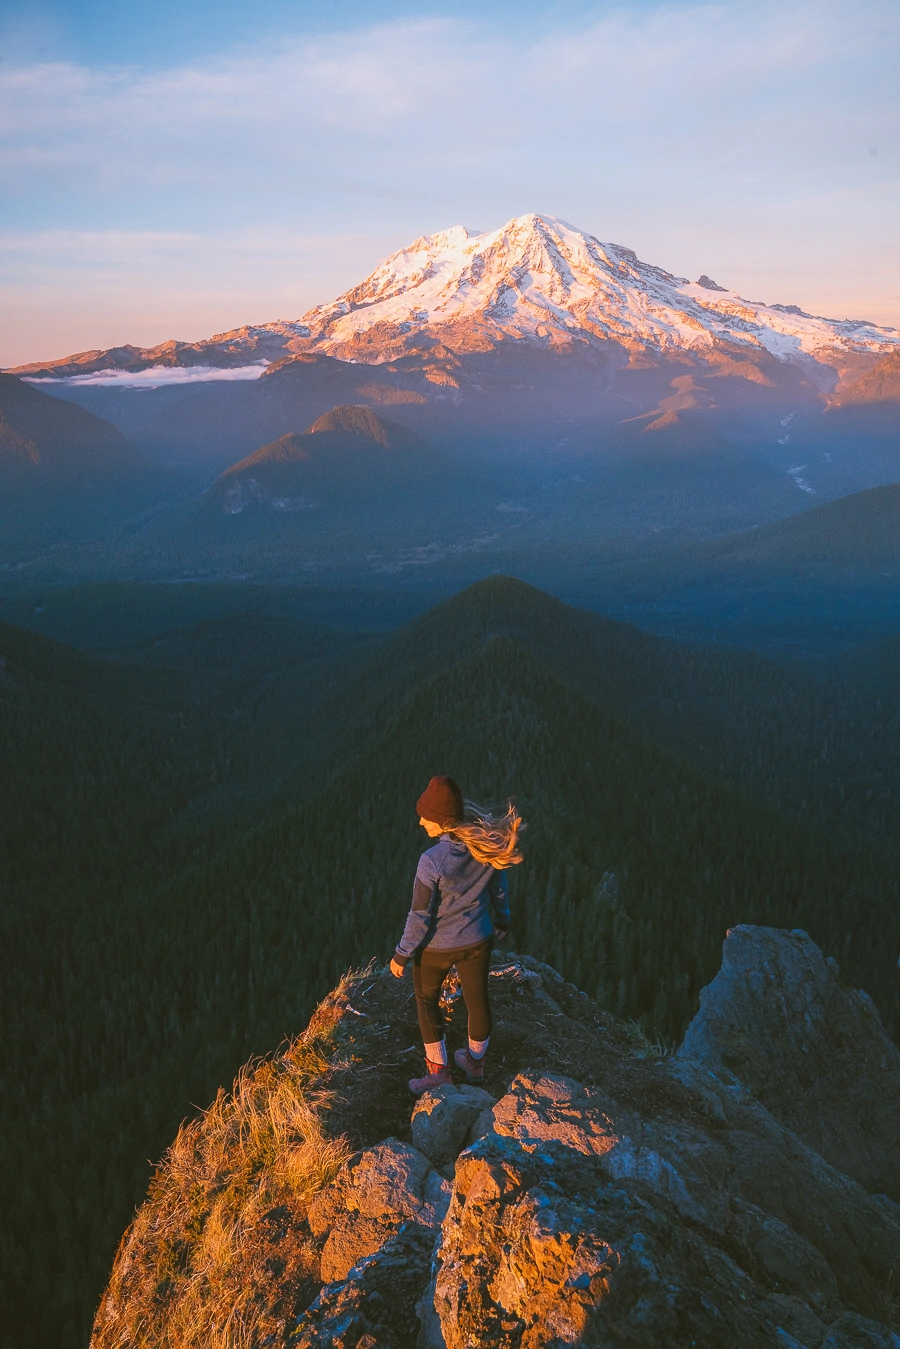
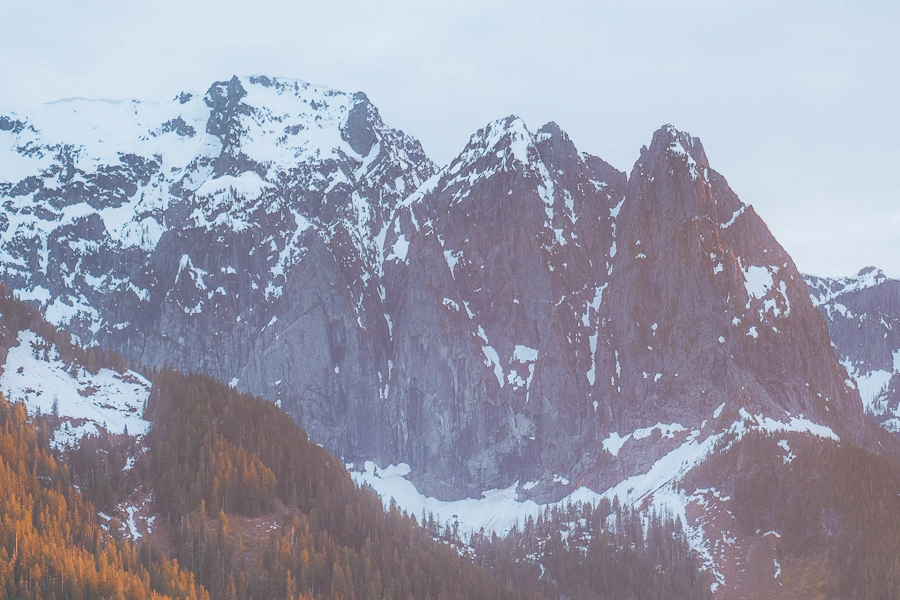
As shown in my photo above, cloud inversions are also most likely to happen during sunrise and sunset.
Strap Camera On Your Backpack
Some hikes have outstanding views throughout the whole trail and it is such a pain to stop every few minutes to take your camera out of your backpack. Also, using the camera strap around your body can cause pain after a while, especially if you are hiking steep trails.
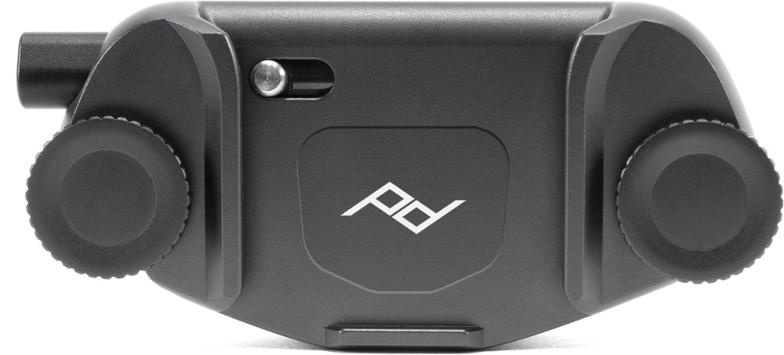
Using a clip that straps to your backpack makes it easy to capture photos while you are hiking. I love this thing, and I have been using it for years! >>>Buy The Clip Here
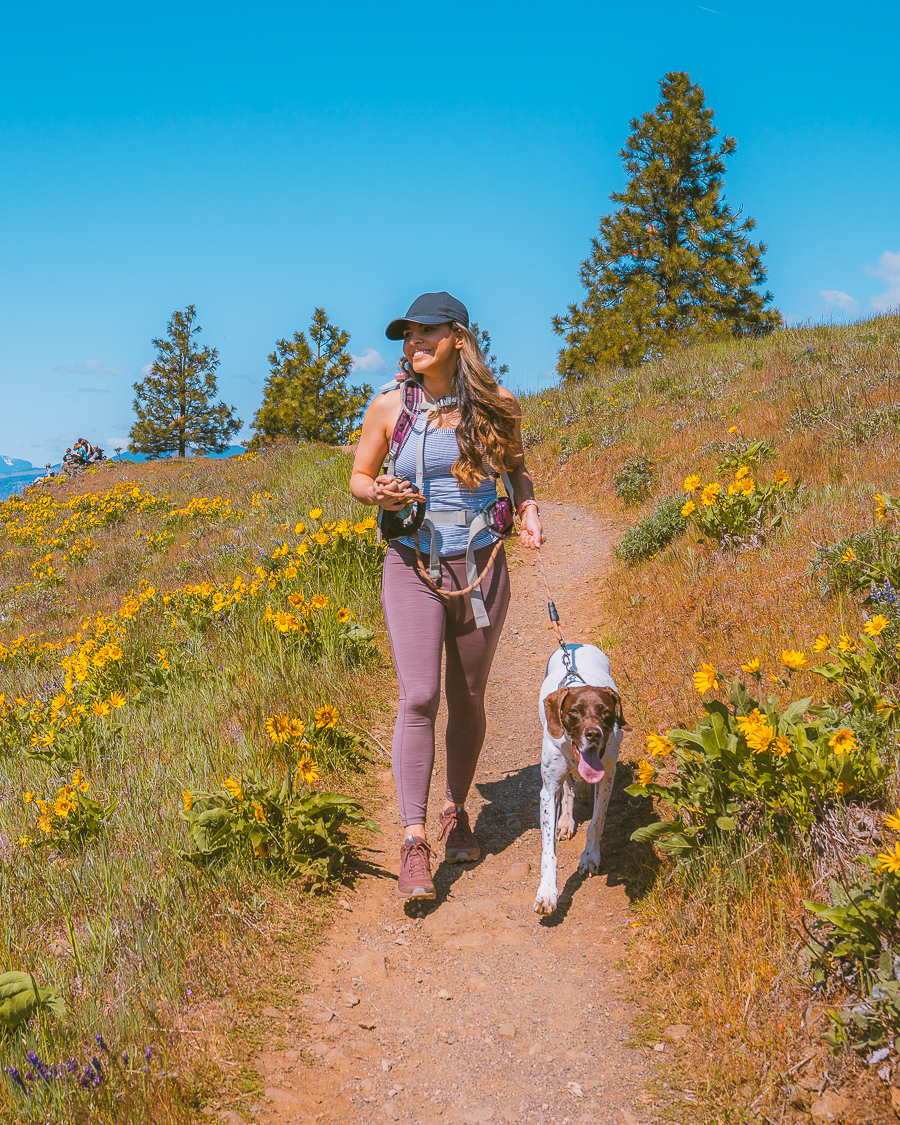
Use A Person To Help Make Photos More Impressive
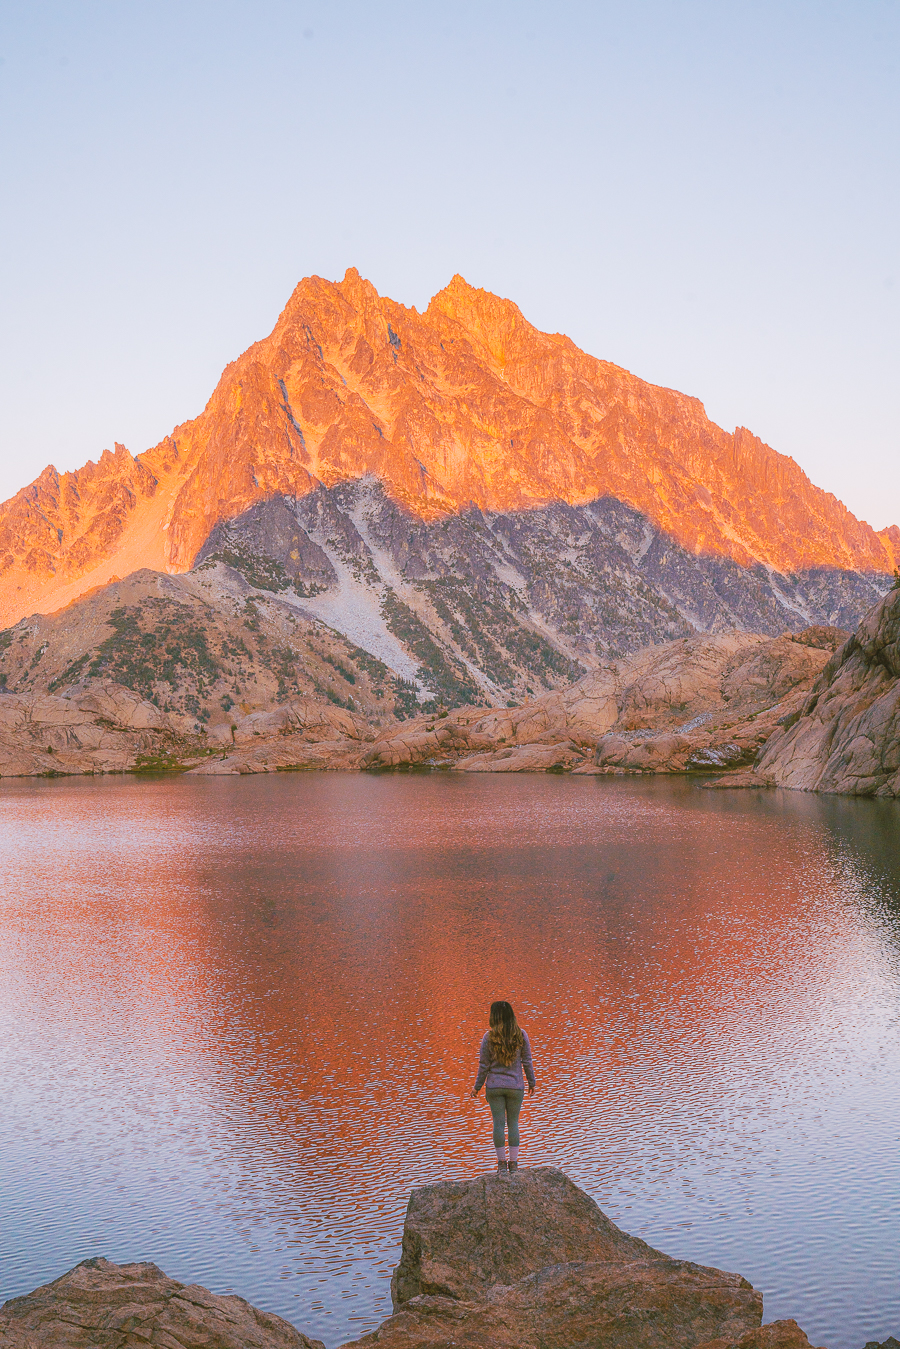
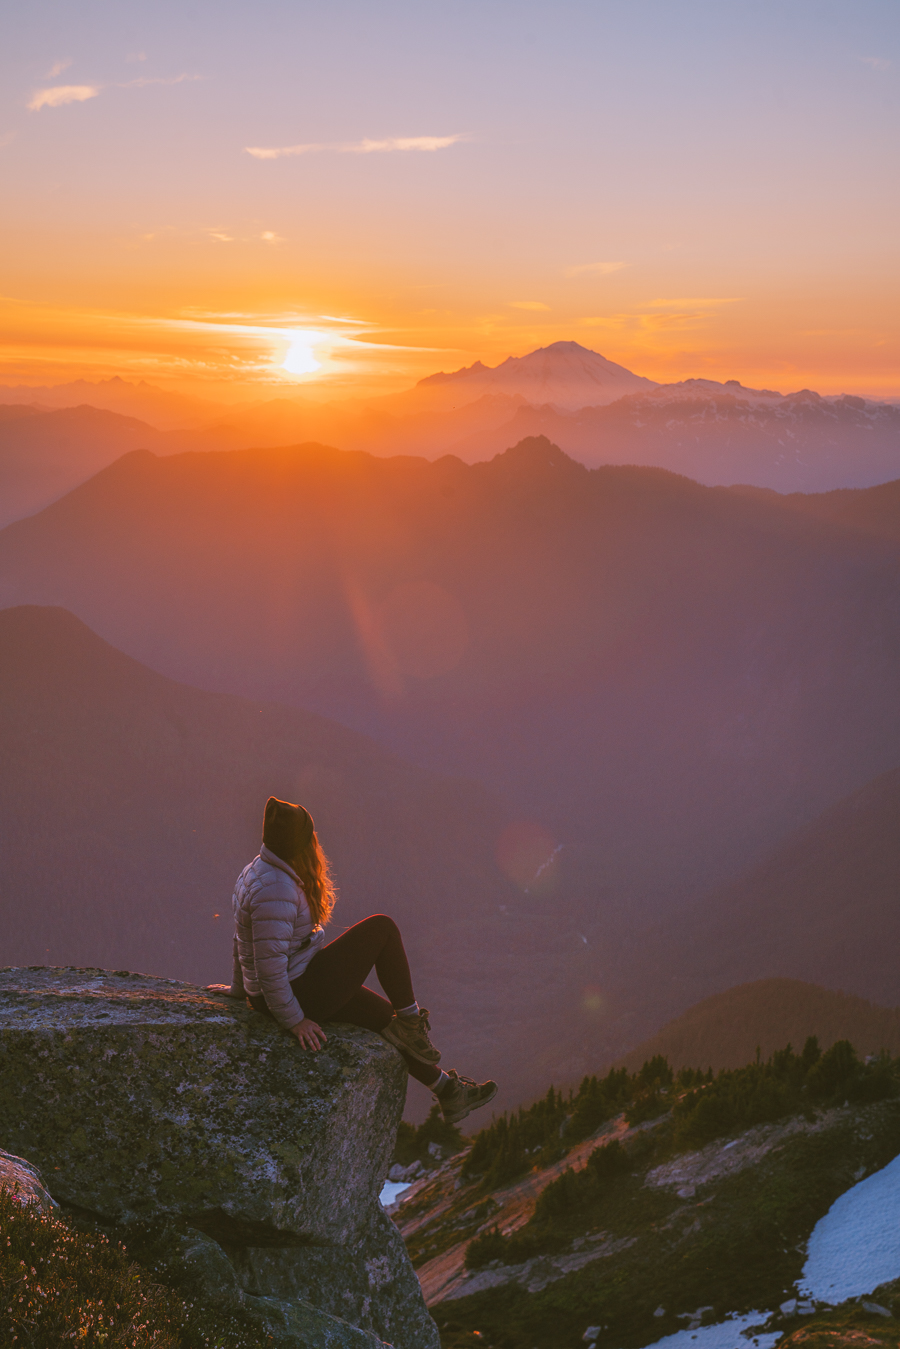
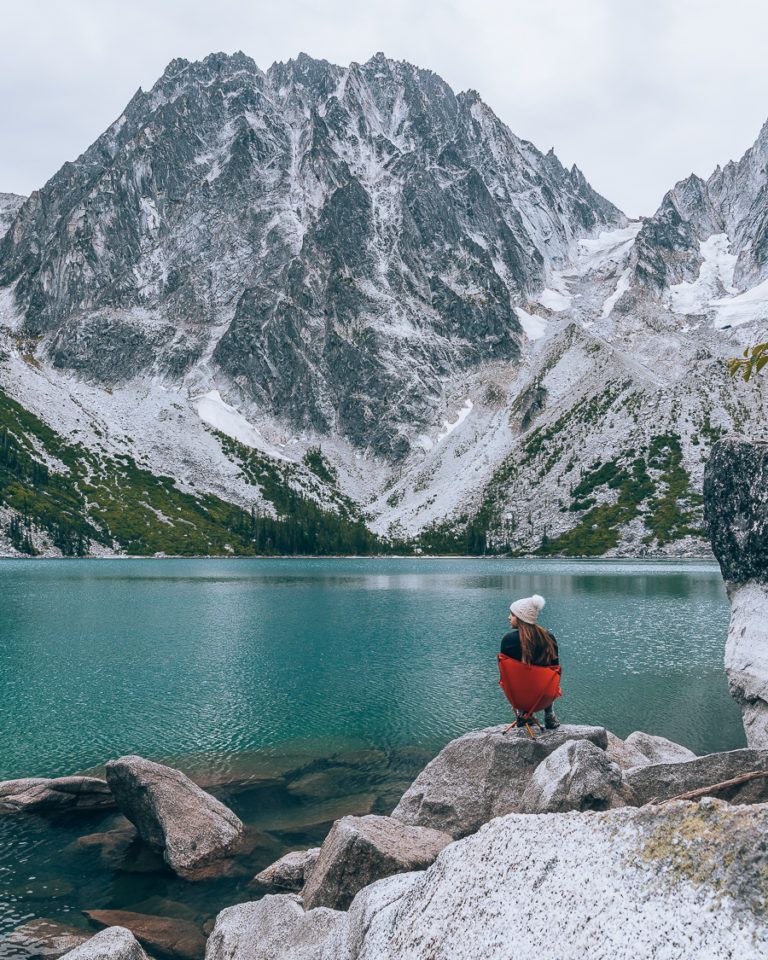
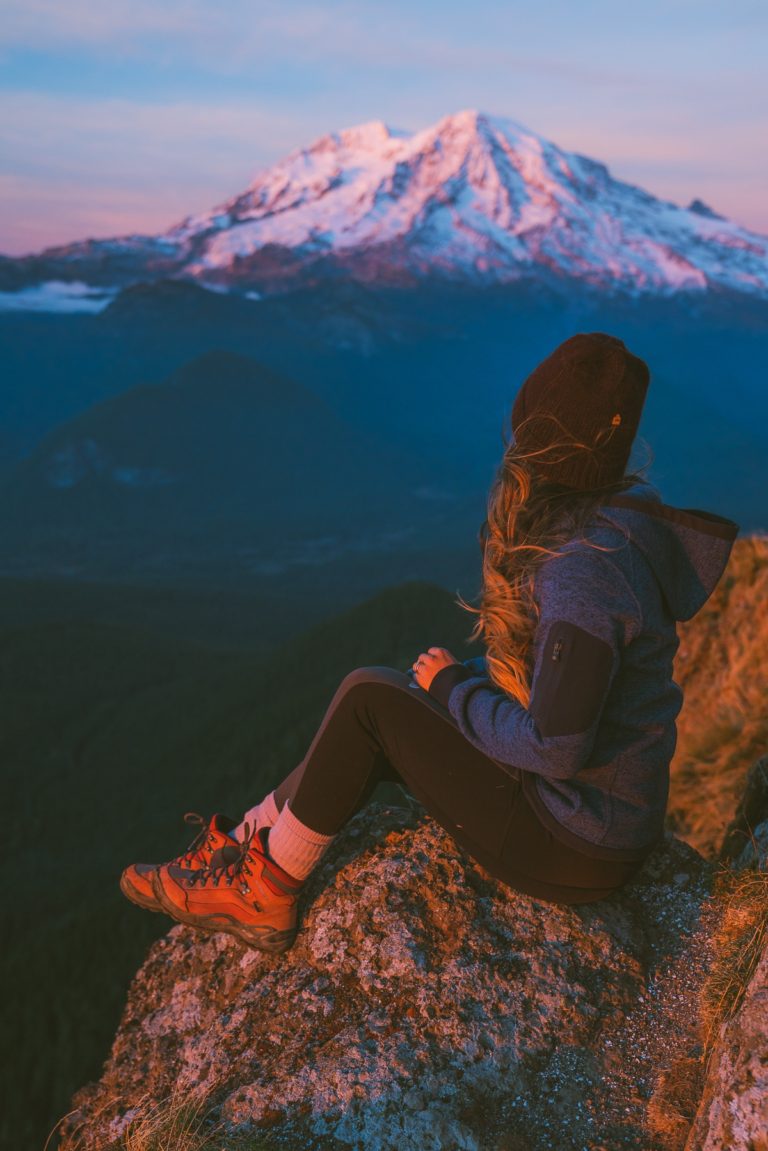
Since all photos are two-dimensional, it can be hard to make a photo feel alive. If you use a person in photos, it can make your pictures more pleasing to the eye. It will show just how large and grand the mountains are. I show an example below. To me, the image on the right shows more depth in the photo. Photos like this can also make you feel emotion. It can make people feel like they are the person standing and looking at the mountains.

Landscape photography can be better with a person
How To Take Pictures Of Yourself Hiking

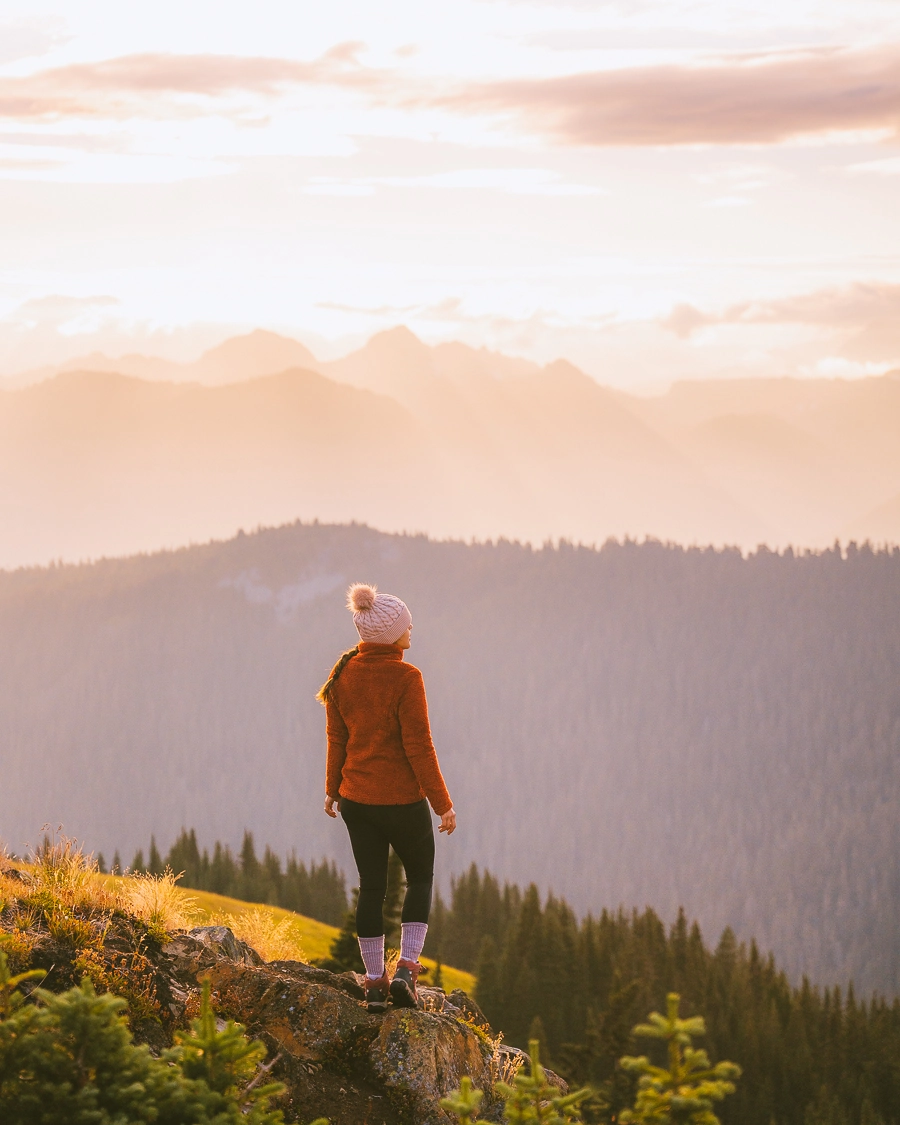
Taking photos while hiking can really improve your pictures. Holding onto your backpack or trekking poles can help with figuring out what to do with your hands. I also feel like posing comes more naturally when hiking. If there is a beautiful mountain or flower field in the background, I love taking photos of me walking next to them. It adds depth to the image.
Wear Bright Colors
When it comes to my hiking outfits, I usually wear clothing that has bright colors. Why? Because it makes the photo pop.
You don’t need to wear the brightest pinks or reds to make a good photo, but I try to avoid black or white colors. Black is just harder to capture in photos.
I will say that I tend to wear black leggings, but I usually try to combine them with a bright-colored jacket or shirt. In the end, you can wear what you want! If all you have is a black jacket, then wear the black jacket, but adding color has improved my photos.
Learn To Use Manual Mode
I know the thought of using manual mode is probably making you sick to your stomach (I know I felt that the first time I picked up a nice camera). But I have great news for you! Once you know how to use manual mode, you know how to use it forever! It is one of those things that I feel like I can never forget. It feels like second nature. Here are the three settings you need to know how to use:
ISO: A camera setting that will brighten or darken a photo. The higher the ISO, the brighter your picture will be. The lowest setting on most cameras is 100. Be careful, though, as the higher the ISO, the grainier the photo will be. I try to make sure the ISO is as low as possible in every shot.

Aperture: Aperture refers to the opening of a lens’s diaphragm through which light passes. It pretty much controls the depth of field. So if you want the whole photo to be in focus, then try to move the setting to a higher number like f/11 and above. If you want to make a portrait photo of someone and want the background to be blurry, change the setting to around f/2.8. Since f/2.8 had a larger opening, more light is passing through the lens, which means it is a more manageable setting to accomplish when there is low light. Keep that in mind.
Shutter Speed: The length of time the camera shutter is open, exposing light onto the camera sensor. The faster the shutter speed, the less blurry your photo will turn out. For example, if you are hiking, you want your shutter speed to be pretty quick so that your foot does not look blurry. Of course, there are times where you want the shutter speed really low. When you want it to be low is when you are taking photos of the stars, or waterfalls. I have a good example below of what can happen if the shutter speed is too slow.
I recommend playing with these three settings at home. See what happens if you turn up the ISO. See what happens if you turn it down. Do the same with aperture and shutter speed.
Make Waterfalls Look “Silky”

I love when waterfalls have this silky, smooth feel to them. There is an easy way to recreate this, and it includes a tripod (or a rock if you don’t have one), and changing your camera settings. Remember when I said earlier that you should get good at using manual mode? Well, you need manual mode to create this effect.
You are going to have to turn the shutter speed down a notch to around 1/2. Make sure you play with it, though. You can change the shutter speed even lower and see what happens.
You need a tripod in the process because the shutter speed is so slow. Any movement that you make while taking the picture will make everything blurry (not just the waterfall). Even your breathing and moving just a little can make the background blurry. You only want the waterfall to be moving, so that is why you need a tripod.
Take the photo and voila! You got yourself a silky waterfall effect.
Use A Tripod
Tripods can be pretty helpful, especially when it comes to waterfalls (as discussed above). But it is also beneficial when you are shooting for sunset or sunrise. There isn’t much light coming into the camera during those times, which makes it difficult to take photos. The shutter speed becomes too low for you to get a good photo, which can make the picture blurry. That is why it is best to use a tripod. I don’t always use a tripod while hiking because tripods can be pretty heavy, but I know many people hike with it.
Tripods are also great for people that are solo travelers/hikers.
Shoot In RAW
If you are new to photography, then you might not know what RAW is. It is a setting like JPEG but better. When you switch your camera to RAW instead of JPEG, your camera captures all image data recorded by the sensor. When you shoot in JPEG, your camera compresses it, and a lot of the data is lost in the process.
Now, I don’t recommend RAW for everyone. For example, my mom that has no desire to make a living from photos, does not need to shoot in RAW. Most RAW files are huge, so you need a ton of space, and some phones, programs, apps, and computers usually can’t handle RAW. It is only helpful if you are going to edit the photo after you take it.
I usually import all my RAW photos into Lightroom, edit them, and then I export them as a JPEG so that Instagram, my blog, Facebook, etc., can handle the picture.
Check your camera settings to see if you are shooting in RAW or JPEG. If you feel iffy about switching, some cameras let you shoot in both RAW and JPEG, which I did when I first started photography.
Composition
The Rule Of Thirds
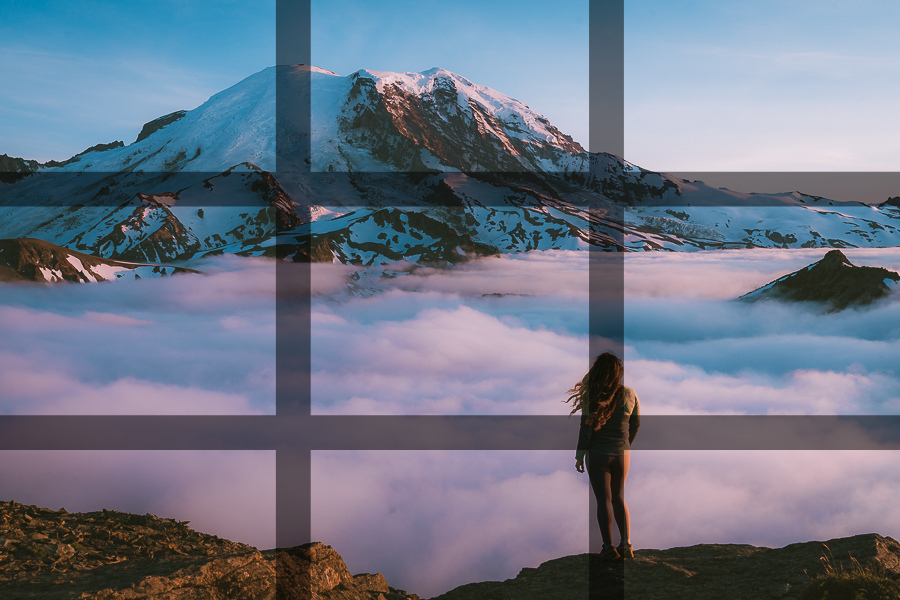
Whatever camera you are using, whether a phone, Sony, Canon, etc., turn on the grid as shown in the above photo. You want the subject of the image on one of the crossing gridlines. Make sure the subject is not too close to the side of the frame. If the subject is too close to the left or right, it can throw the photo off. If you can, try to align the horizon with either the bottom or top line on the grid. It makes the picture more pleasing to the eye than if the horizon is in the middle of the canvas. This article explains it pretty well.
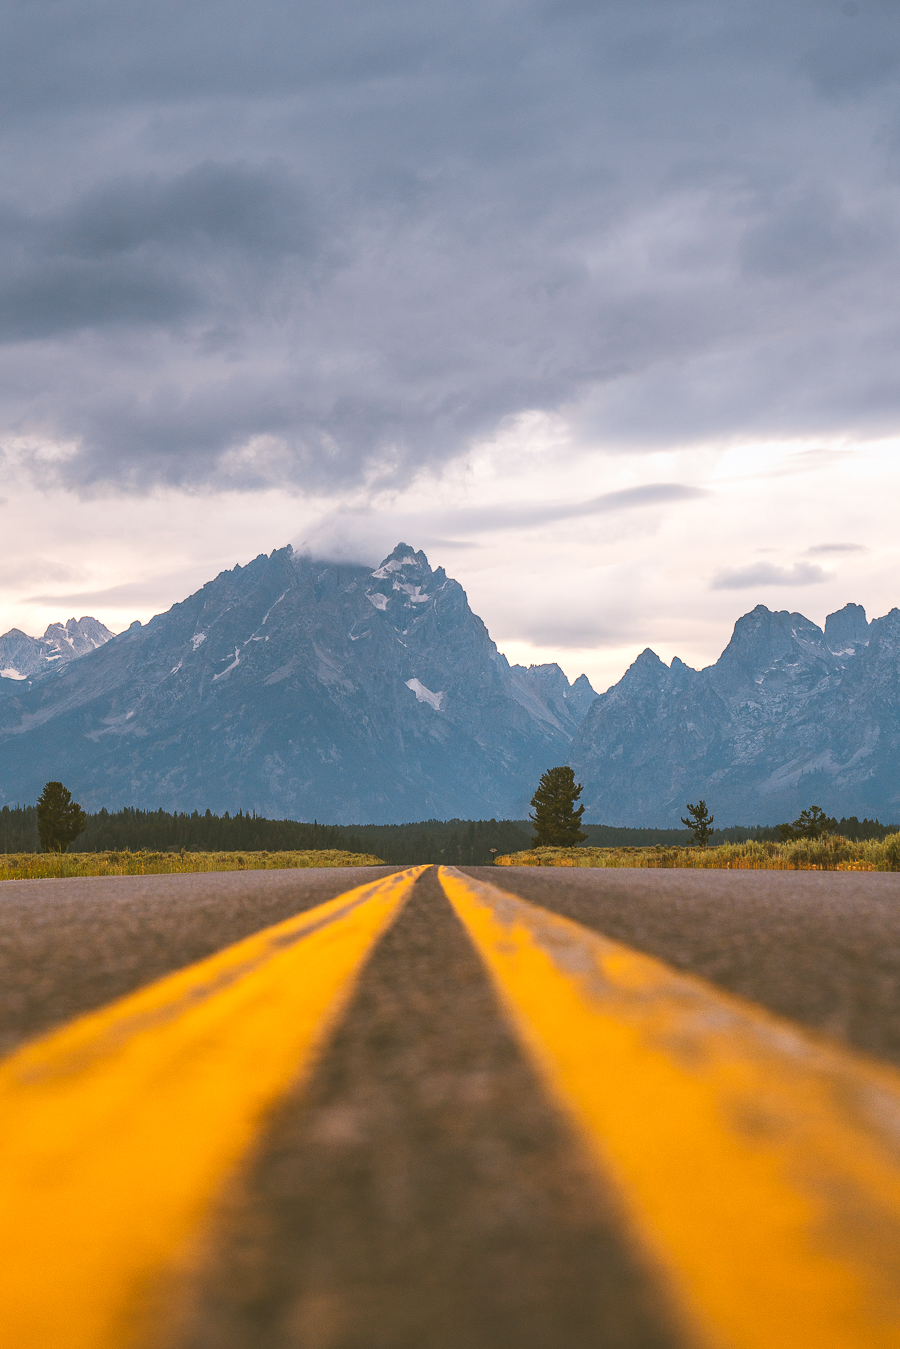
Leading Lines
When photographers take photos of a road with a car, mountain, or person in the center, you see this a lot. Leading lines draw the viewer’s eye towards a specific point of interest in the photograph. You can read more on it here, and below is a good example.
Depth Of Field
As I explained earlier, adding a person to a photo can really make a photo better. Why? Because it makes a photo that is in 2D feel like it is in 3D. It gives the image more depth and helps transform a photo from feeling flat to feeling alive. You can read more on this here.
Edit Photos In Lightroom

After taking my photos while hiking, I go home and upload all of my RAW files into Lightroom. From there, I pick which pictures I like and edit them. I do this all on my computer. I am not a fan of photo editing software on phones, so I strictly use my Mac.
Lightroom is one of those programs that seems so overwhelming when you first lay eyes on it, but you do get used to it after practicing. Watch Youtube videos to learn more about the basics, and I promise it does get easier with usage.
Exporting the photos in the correct size when you are done editing can also help make your photos look incredible. You don’t need to export every photo to the biggest size to have good-quality photos online. For example, for a portrait photo on Instagram, you need 4:5 1080 px x 1350 px to get good quality photos. For my blog photos, I have to export the width at 900px. So make sure you research and export all photos properly.
I pay for Lightroom every month ($9.99), and it also includes Photoshop, which I use every once in a while.
Practice At Home
When I first picked up an expensive camera, I wasn’t really sure how to use it. I took some photography courses, but those courses do nothing unless I practice.
Yes, with photography, practice does make perfect.
Now when you are hiking, you are usually sweaty, hot, uncomfortable, and tired. So the first time you turn on your camera should not be on the trail. It should be around your home.
The first time I practiced with my camera, I went to a botanical garden and a nearby park. I put the camera on manual and tried out the different settings until I fully understood them. I did this many times before I started to take any landscape photos. This made it a lot less stressful, especially since I could also Google anything that didn’t make sense. Remember that you might not have service when hiking.
How To Show Hiking Buddies How To Take Photos
Let’s be honest. Taking photos of yourself can be difficult, so it is best to have someone else take pictures of you. It can be difficult to let people know exactly what you want, but it does get easier after much practice. I have been able to get epic photos from people that have never touched a professional camera before. So it is possible! Here are some of the steps:
- Start thinking about the shot you want
- Position your friend how you would want your picture taken, and talk to them and let them know how you want them to pose.
- Position yourself and change the settings on your camera. Make sure it is focused.
- Take photos of your friend.
- Now switch and show your friend exactly what you want. Show your friend the photo you just took of them. Use the grids on the camera to show them where you want to be positioned.
Look below for an example.
Take A Photography Class
Many people asked me how I learned all this, and the easiest way is to take a photography class. Yes, a lot of it is accessible on YouTube, but finding the correct videos for your needs can be frustrating. Luckily I have a class for you that I took many years ago here.Please note that this is a beginner photography course mainly for people that don’t know how to use Lightroom or manual mode on their camera.
Final Thoughts On Hiker Photography
Thanks for reading about photography tips! If you need other guides make sure to check out these other posts:
- Best Camera Gear For Hikers
- 60 Amazing Tips On Camping For Beginners
- 16 Best Hiking Apps You Need To Download
- The 12 Mind-Blowing Health Benefits Of Hiking

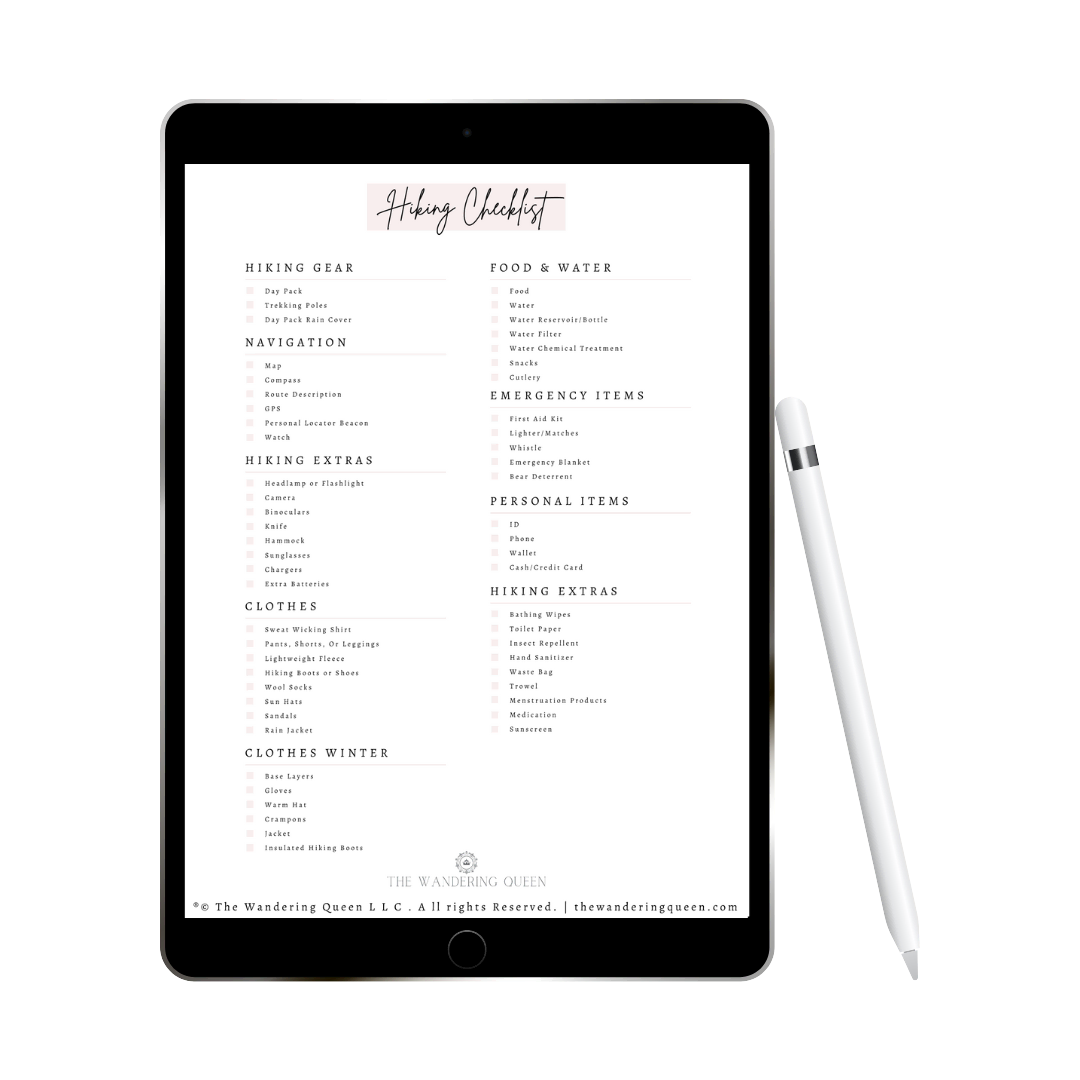
Claim your FREE Hiking Checklist
Ready to start hiking? Grab my free hiking checklist and never forget anything at home!

I’m nearing 72 yrs young have shot photos with nice cameras since the 70s. My first camera was an Olympus OM-10. I very much understand the effects of aperture, shutter speed, and ISO and how they interact. All of that said, I find your article quite excellent; and I can say that I actually learned (hmmm … maybe re-learned & never quite used before) a few composition things from it (thank you). I currently have a Cannon T2i, a few lenses, and a tripod. The thing is, though, that’s a lot of stuff to be carrying around. I recently purchased a Google Pixel 7 Pro & have decided that there’s a place for both. If I’m on the trip for special photos (I’ve taken the Andromeda Galaxy, star circles, a total solar eclipse, formal people photos, etc) I use the Cannon. Thank you very much “all things girly” … Michelle!
Hey Jay!
Thanks so much for your wonderful comment I really appreciated reading this! Yes I struggle with carrying all the equipment! It is so heavy, but I like to think of it as training in a way to get me stronger. Kepp on taking lovely photos!
-Michelle